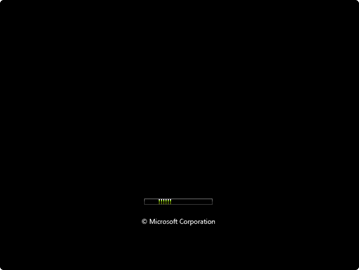
All you need is two images at 800×600 and 1024×768 saved as 24-bit Windows bitmaps:


Next, follow these steps:
- Download Dan Smith’s Vista Boot Logo Generator (see link below).
- Install and run from the link in the Start Menu.
- Hit Browse for image and select both the 800×600 and 1024×768 resolution bitmap files for your boot screen.
- Click on File and select Save Boot Screen File As to save your file.

- Download Vista Boot Logo Generator v1.2 (BETA)
- Next,
you will need to replace the winload.exe.mui file in
c:\Windows\System32\en-us with the one you just created. Before you copy
in your new file, make a backup of the original. You will need to take
ownership of all files in the en-us directory, and also give your
account file permissions to replace the files in order to overwrite the
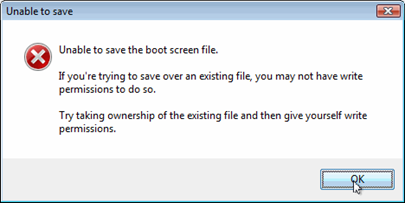
original file with the new winload.exe.mui file. If you don't, you'll be
prompted with this error:
To do so, log on as an administrator (if you have not done it by now). Open Windows Explorer and go to the c:\Windows\System32\ folder. Right click on the winload.exe.mui file and select Properties.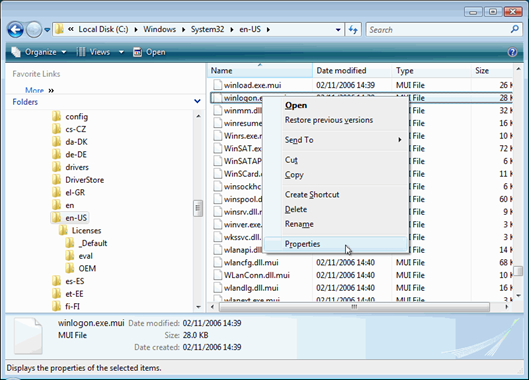
Next, click on Advanced.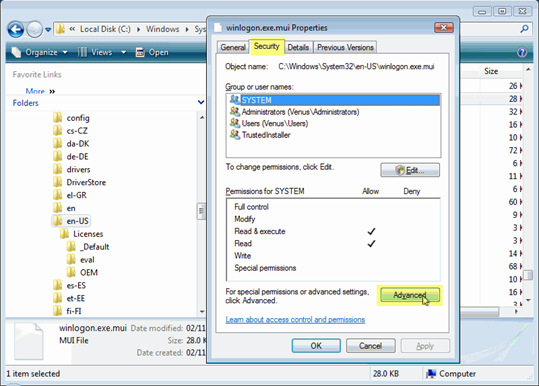
Click on the Ownership tab, and click Edit.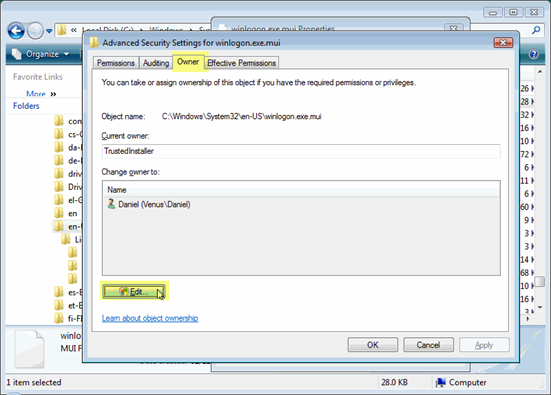
If you are prompted with the User Account Control box, click Continue.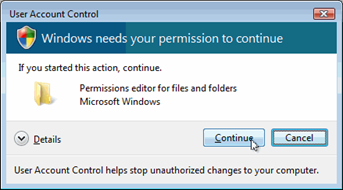
Click to select the Administrator account, or better, the user that you're currently using and which has Administrative capabilities, in my case, Daniel. Click Ok.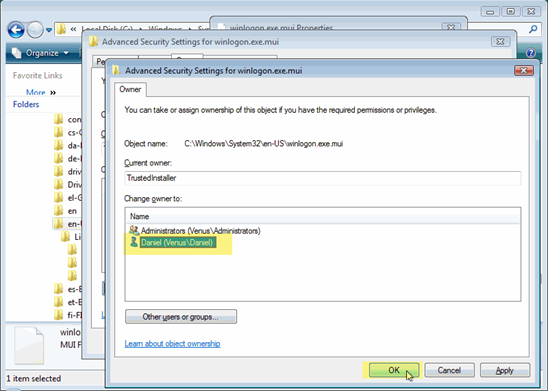
Back in the Security tab, click Edit to add your user account.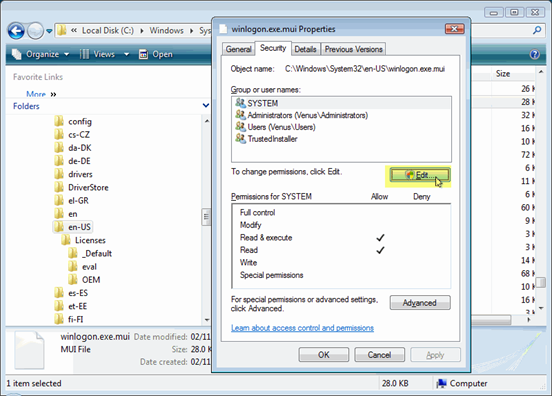
If you are prompted with the User Account Control box, click Continue.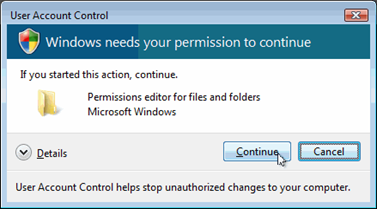
Click Add, select the desired user account (in my case – Daniel), and click Ok.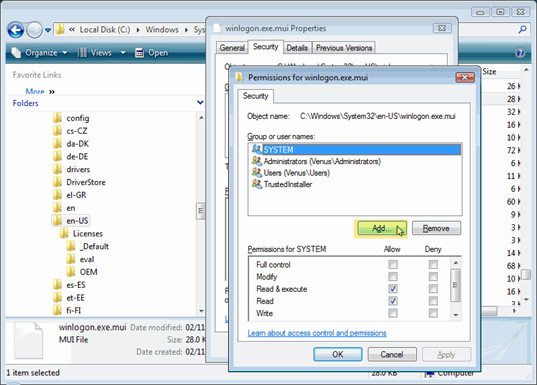
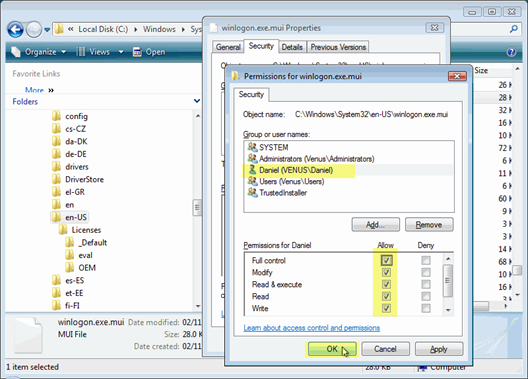
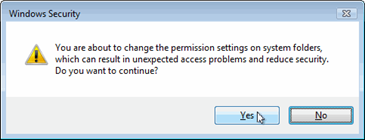
After it is shown in the list, select it and click the Full Control checkbox. Click Ok all the way out.
- Now
you can save the modified logon file in the c:\Windows\System32\en-us
directory. You will be prompted to overwrite the existing file, click
Ok.
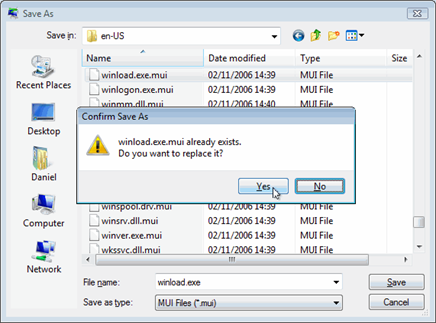
- Next, you'll be prompted to change the boot setting in the MSCONFIG tool. Click Ok.

- Now, click on the Start button and type in “MSCONFIG” in the textbox.
- If you are prompted with the User Account Control box, click Continue.
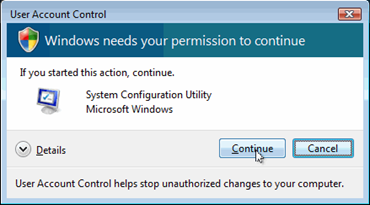
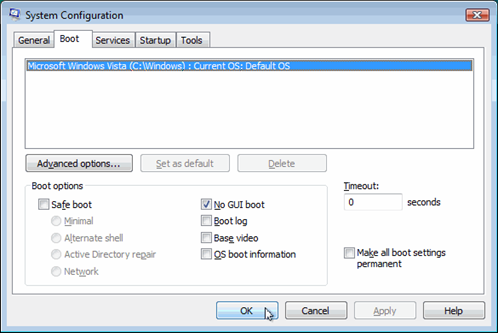
- Once the System Configuration tool loads, click on the Boot tab.
- Under Boot Options check “No GUI Boot”.
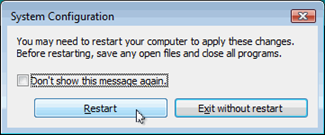
- You will be prompted to reboot. If you want to, press Restart to see the new screen.
- This is your new boot screen. Lame, huh?


0 comments:
Post a Comment