In the following Quick Tip tutorial you will learn how to mix
different shapes, brushes and blending modes in Photoshop CS5 to create
awesome space scene. Layered PSD file included. Let’s get started!

Start working by creating a new document (Ctrl+N) in Adobe Photoshop CS5 with the size 1920px by 1200px (RGB color mode) at a resolution of 72 pixels/inch. Use the Paint Bucket Tool (G) to fill with black color the new background layer.

Using the Rectangle Tool (U), we can represent a rectangle of the color #3C65FF and then apply the Free Transform (Ctrl+T) command to incline the rectangle the same way demonstrated below.
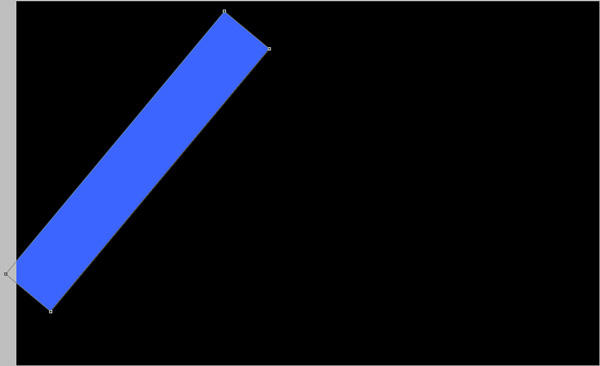
Insert the mask on the layer by choosing Add layer mask on the bottom part of the Layers panel and choose the Soft Round brush of black color.

Use this brush to paint in the mask to hide the edges of the rectangle as shown:

This way we can represent the next rectangle of the color #5390FF.
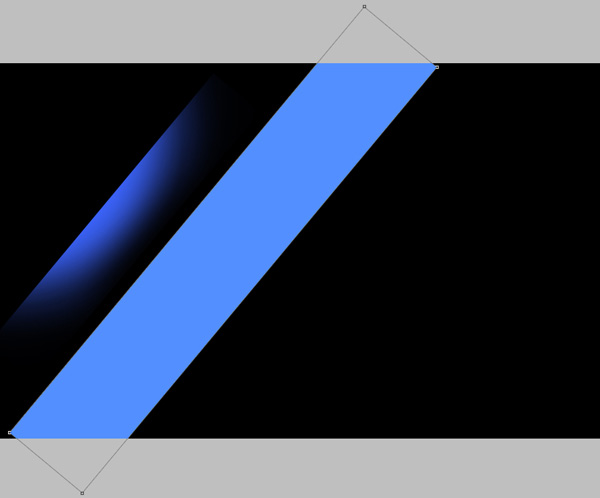
Now we have to hide the rectangle edges the same way we did with the previous one.

Make a copy of the recently made layer and remove the mask of the layer’s copy, create a new mask and select the Soft Round brush of black color.

Paint in the mask to hide the rectangle edges as shown. Choose then the Free Transform (Ctrl+T) command to place the copy’s layer as on the next picture.

Next we have to insert several rectangles of the color #2572FF. Set Fill to 50% for several copies.
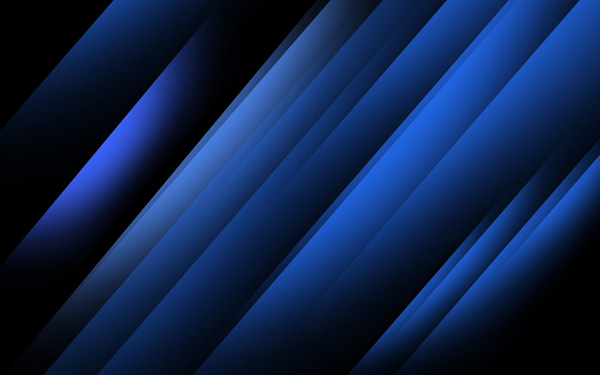
Next we’ll insert a rectangle of the color #3C65FF. Add on the same layer the mask.
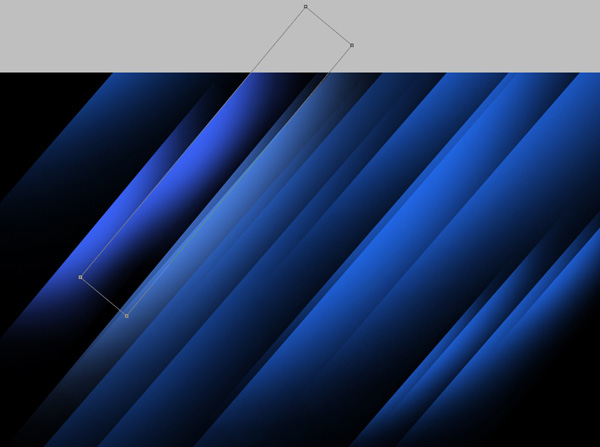
Hide the rectangle edges the same way described above using Soft Round brush of black color.
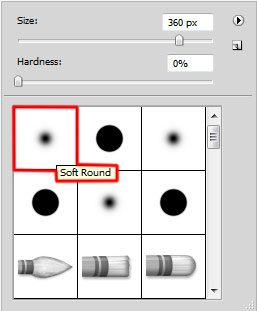
Using the same Rectangle Tool (U), we have to represent a rectangle of the color #2572FF, the edges must be hided in the mask with a black brush.
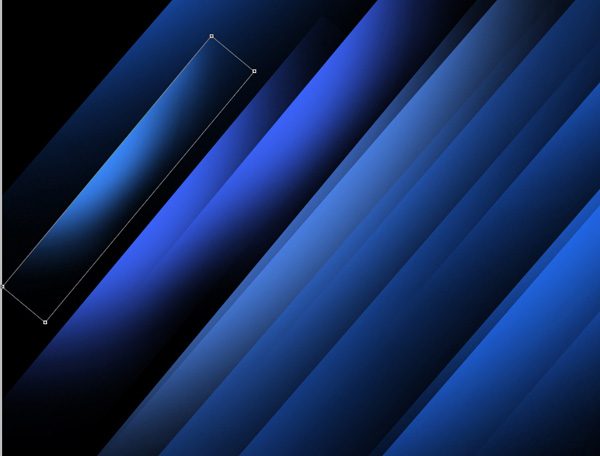
Set Fill to 72% for this layer.
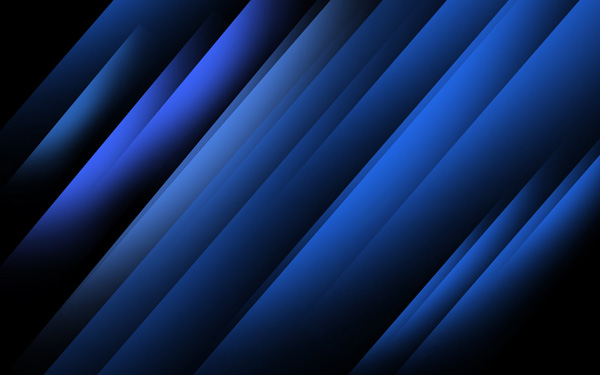
Make a copy of the recently made layer with the rectangle on it and select the Free Transform (Ctrl+T) command to change the copies’ sizes, placing them as below.
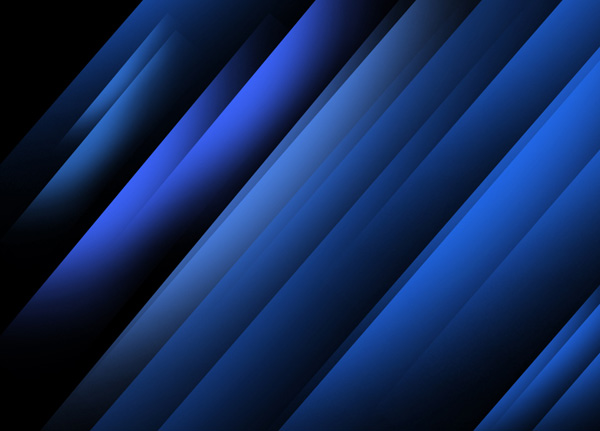
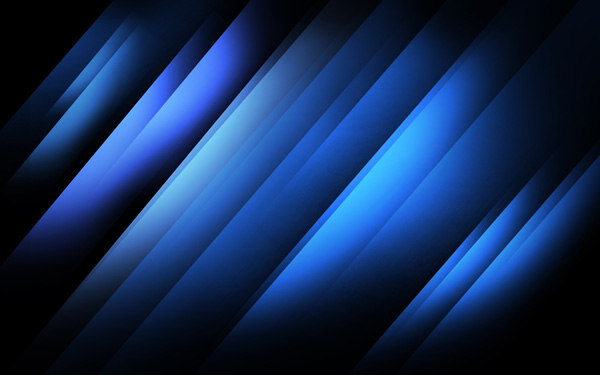
We’ve got the next result:
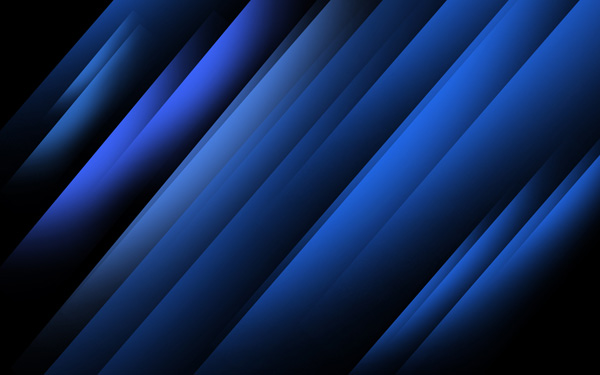
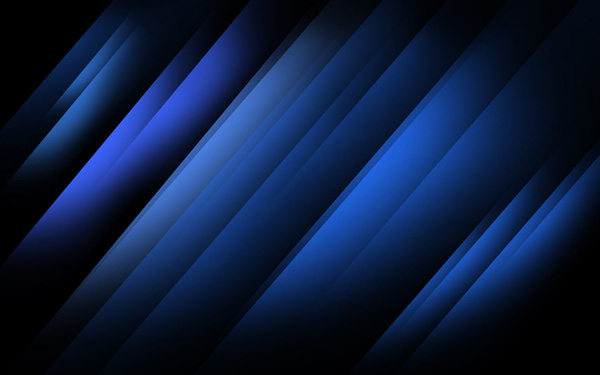
Create a new layer and select the Soft Round brush and black color, set Opacity to 20% in Options bar. Use this brush to paint the canvas edges as shown.
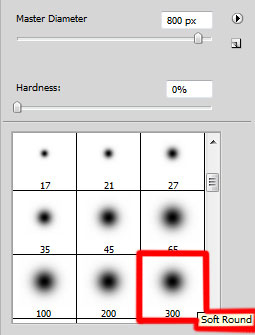
On the next new layer we’ll create a selection, using the Rectangular Marquee Tool (M) and then use the Soft Round brush of white color to paint inside the selection to add some white spots as shown. The brush should be of bigger diameter.
Then press Ctrl+D to remove the selection and use a brush of smaller size to paint along the rectangles as shown.
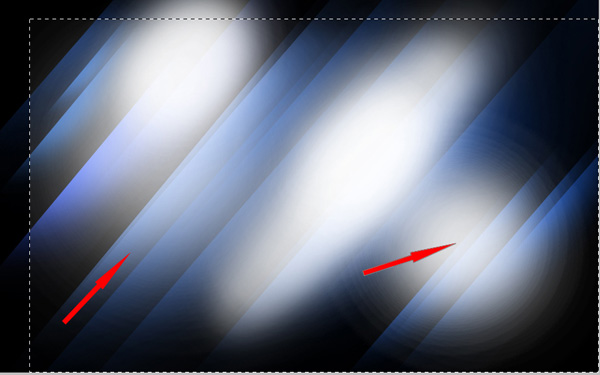
Set the Blending mode for this layer to Overlay.
Now create a new layer and select on it the Soft Round brush of white color.
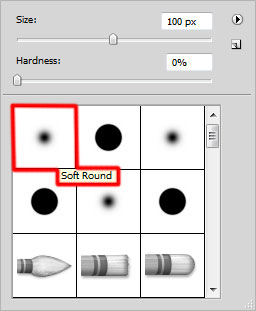
Use this brush to add several white spots on the canvas.

Final Image Preview

Start working by creating a new document (Ctrl+N) in Adobe Photoshop CS5 with the size 1920px by 1200px (RGB color mode) at a resolution of 72 pixels/inch. Use the Paint Bucket Tool (G) to fill with black color the new background layer.

Using the Rectangle Tool (U), we can represent a rectangle of the color #3C65FF and then apply the Free Transform (Ctrl+T) command to incline the rectangle the same way demonstrated below.

Insert the mask on the layer by choosing Add layer mask on the bottom part of the Layers panel and choose the Soft Round brush of black color.

Use this brush to paint in the mask to hide the edges of the rectangle as shown:

This way we can represent the next rectangle of the color #5390FF.

Now we have to hide the rectangle edges the same way we did with the previous one.

Make a copy of the recently made layer and remove the mask of the layer’s copy, create a new mask and select the Soft Round brush of black color.

Paint in the mask to hide the rectangle edges as shown. Choose then the Free Transform (Ctrl+T) command to place the copy’s layer as on the next picture.

Next we have to insert several rectangles of the color #2572FF. Set Fill to 50% for several copies.

Next we’ll insert a rectangle of the color #3C65FF. Add on the same layer the mask.

Hide the rectangle edges the same way described above using Soft Round brush of black color.

Using the same Rectangle Tool (U), we have to represent a rectangle of the color #2572FF, the edges must be hided in the mask with a black brush.

Set Fill to 72% for this layer.

Make a copy of the recently made layer with the rectangle on it and select the Free Transform (Ctrl+T) command to change the copies’ sizes, placing them as below.

We’ve got the next result:

Create a new layer and select the Soft Round brush and black color, set Opacity to 20% in Options bar. Use this brush to paint the canvas edges as shown.

On the next new layer we’ll create a selection, using the Rectangular Marquee Tool (M) and then use the Soft Round brush of white color to paint inside the selection to add some white spots as shown. The brush should be of bigger diameter.

Then press Ctrl+D to remove the selection and use a brush of smaller size to paint along the rectangles as shown.

Set the Blending mode for this layer to Overlay.

Now create a new layer and select on it the Soft Round brush of white color.

Use this brush to add several white spots on the canvas.


0 comments:
Post a Comment