Final image
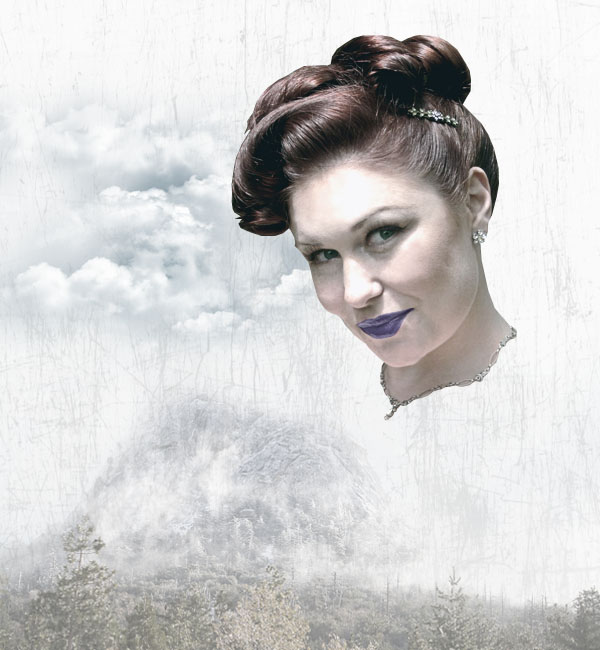
As always, this is the final image that we’ll be creating:
Resources for Tutorial:
FanExtra Premium Texture Set: ScratchedPhoto of a Woman
Mountain Photo
Clouds Photo
FanExtra Broken & Beat Texture Set
Ornate Heart Vector
Free Illustrator Swirly Symbols
Crumpled Paper Texture
Step 1
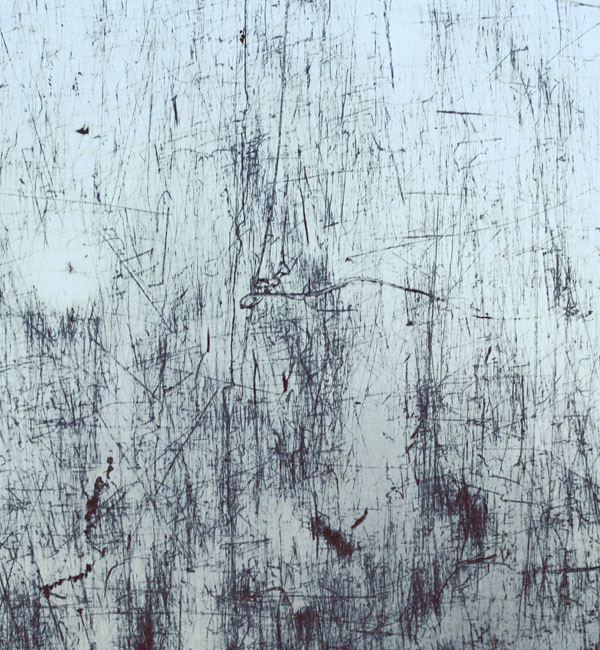
Create a new document (600X650px).Download the FanExtra Scratched Texture set and paste in the first texture, resizing it to fit your canvas:
Step 2
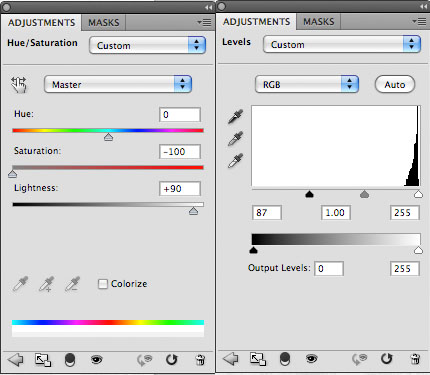
Now apply a couple of adjustment layers:Hue/Saturation Adjustment Layer Settings:
Hue: 0
Saturation: -100
Lightness: +90
Levels Adjustment Layer Settings:
87 / 1.00 / 255

Step 3
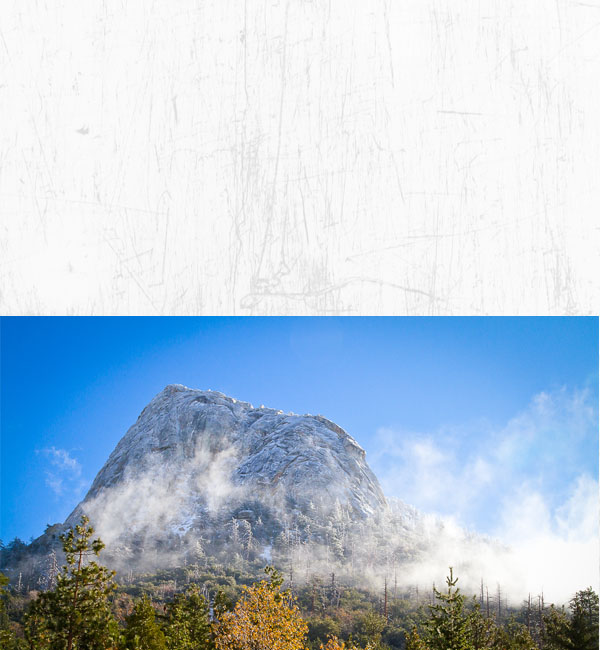
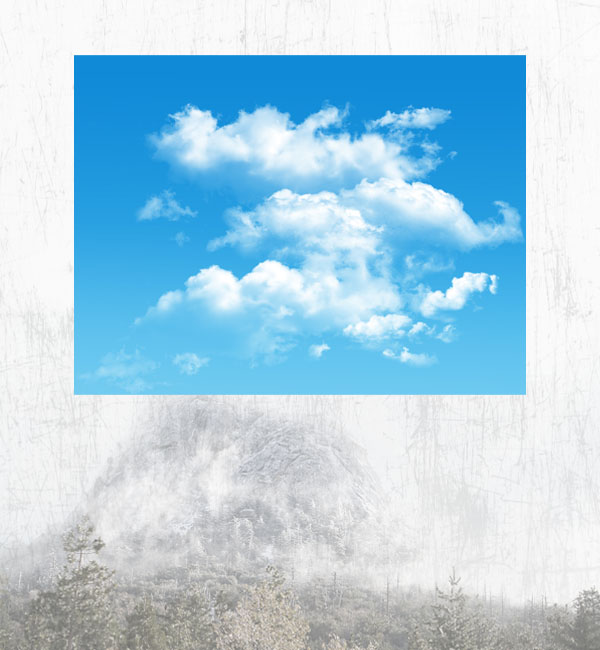
Paste in your mountain range photo, resizing and placing it at the bottom of your canvas.Then go to layer>mask>reveal all and use a medium sized, soft black paintbrush (35% opacity) to mask off the sharp edges of your photo. Then reduce this masked layer’s opacity to 50%.

Step 4
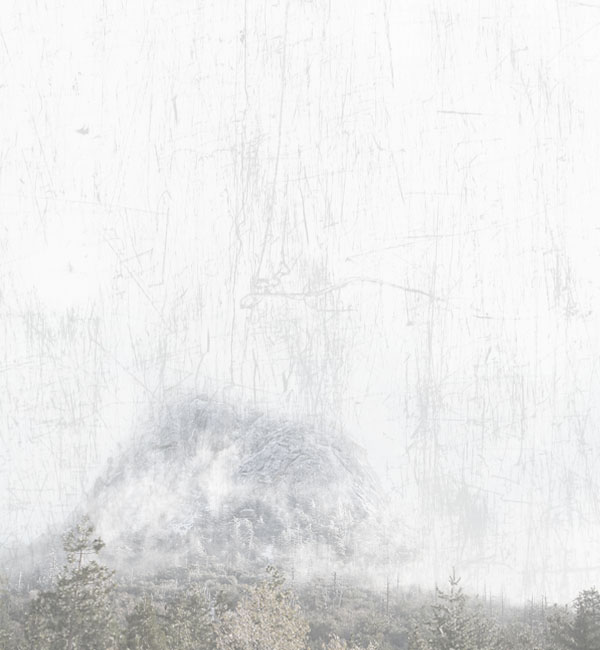
Now apply a couple of adjustment layers to your mountain range layer. To make sure that these layers only effect your mountain range, not your entire canvas, be sure to go to layer>apply clipping mask for each adjustment layer:Hue/Saturation Adjustment Layer Settings:
Hue: 0
Saturation: -73
Lightness: +16
Levels Adjustment Layer Settings:
43 / 1.21 / 236

Step 5
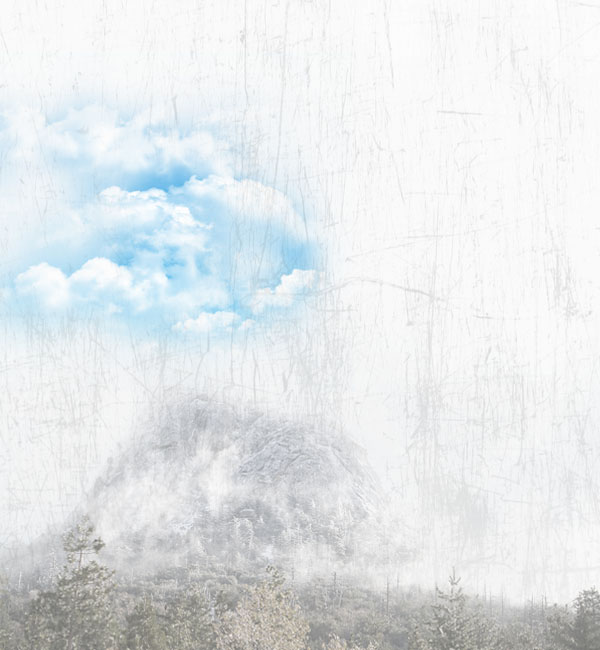
Now use the same technique to paste in some clouds to the top left of your canvas:After you’ve masked off your clouds, then apply adjustment layers (being sure to again apply a clipping mask to each):
Hue/Saturation Adjustment Layer Settings:
Hue: 0
Saturation: -80
Lightness: +27
Levels Adjustment Layer Settings:
48 / 0.82 / 255


Step 6
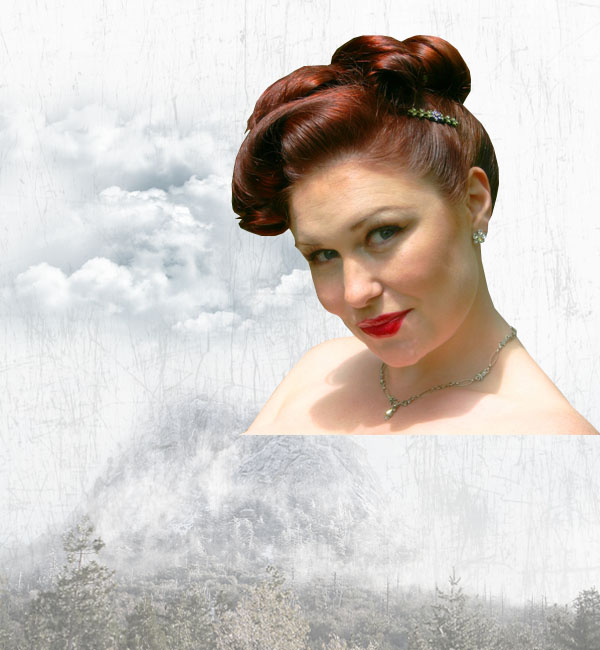
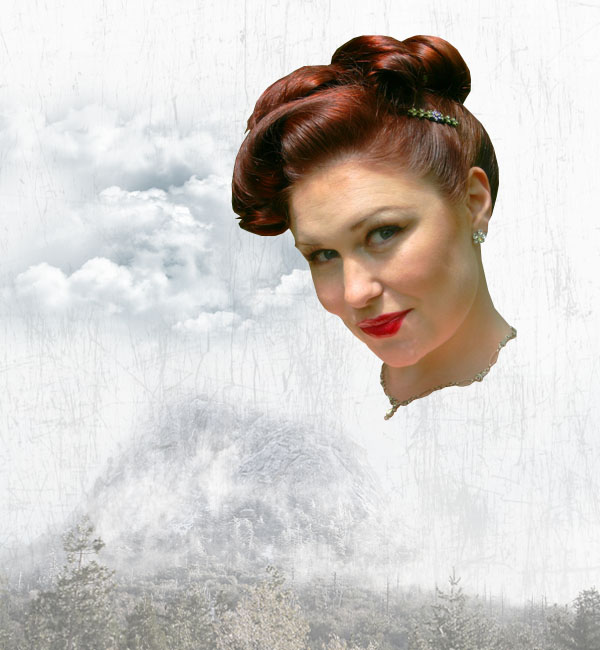
Now cut out and paste in the photo of the woman.Use your pen tool or lasso tool to cut away her shoulders, cutting instead around the line of her necklace:
Step 7
Now it’s time to start retouching our woman slightly.Start by duplicating your woman layer, so that you retain the original image should you need to go back at any point.
Start by using your clone stamp brush to improve the surface quality of the woman’s skin. Use your personal judgement with what looks good, but be sure to use a soft brush for the main part, as we’re aiming for a soft facial look:

Step 8
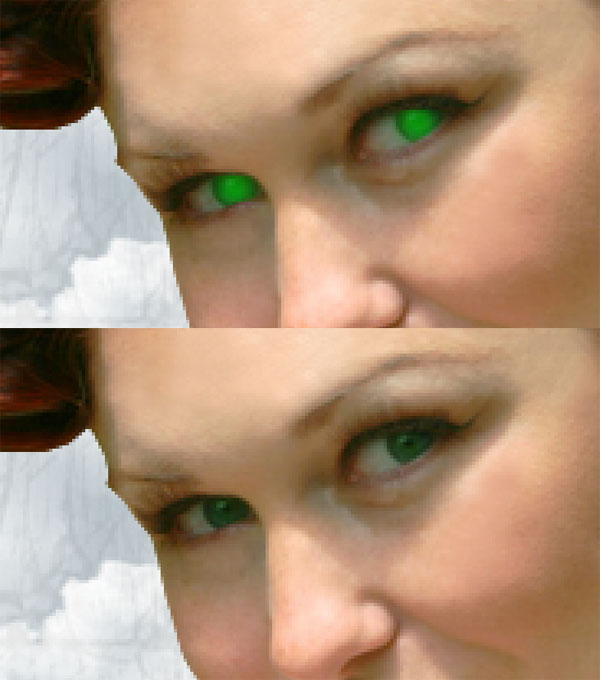
Now create a new layer called ‘eyes brighter’.Use a soft bright green paintbrush to brush over the colored parts of your woman’s eyes. Then reduce this layer’s opacity to 50% and change it’s blend mode to ‘color’:
Step 9
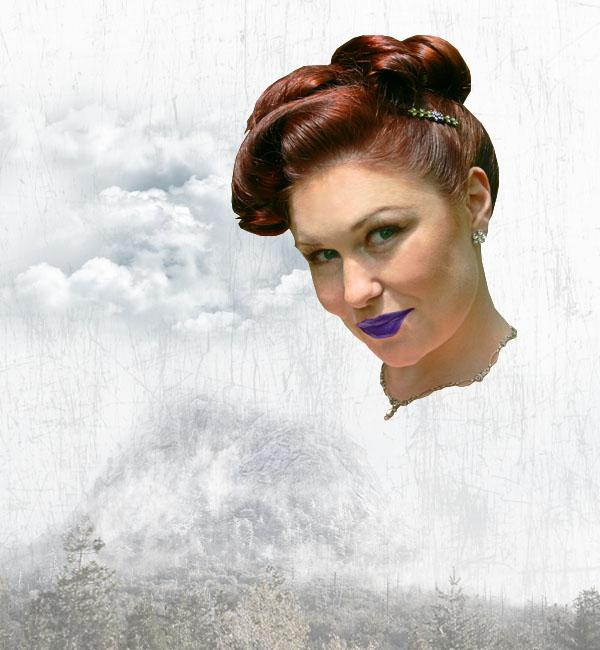
Now return to your woman photo layer and select her lips using the lasso tool.Go to image>adjustments>hue/saturation and apply the settings below:
Hue/Saturation Settings:
Hue: -92
Saturation: -45
Lightness: -15

Step 10
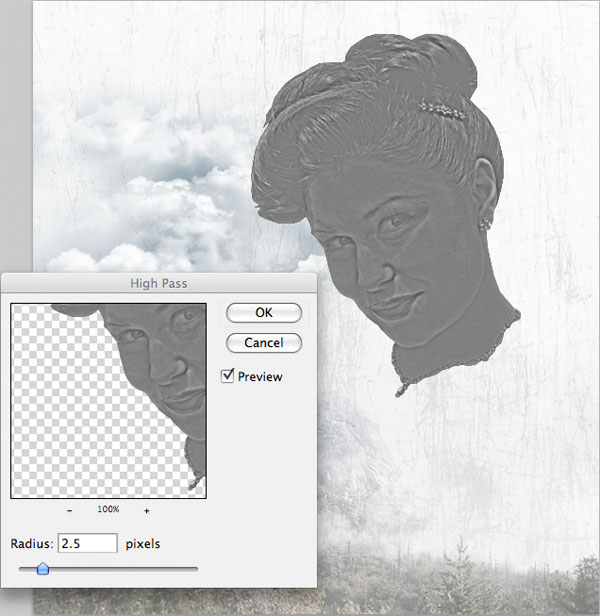
Now duplicate your woman photo layer, moving the duplicate to be your top layer (above your ‘eyes brighter’ layer). Go to image>adjustments>desaturate to grayscale this layer.Then go to filter>other>high pass and apply a 2.5px high pass filter.
Then change this layer’s blend mode to ‘overlay’ and reduce it’s opacity to 60%. This should help sharpen your woman:
Step 11
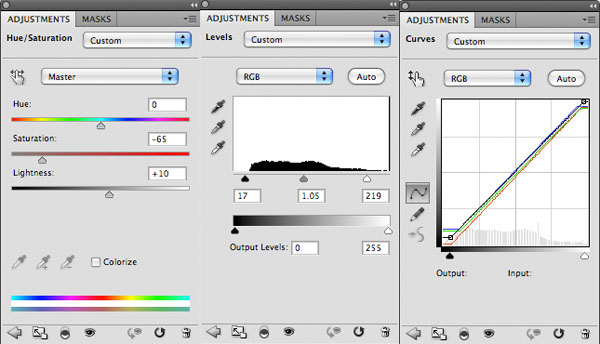
Merge down your ‘eyes brighter’ layer with your original woman photo.Then apply 3 adjustment layers over this merged layer (but beneath your high-pass layer). With each adjustment layer be sure to apply a clipping mask:
Hue/Saturation Adjustment Layer Settings:
Hue: 0
Saturation: -65
Lightness: +10
Levels Adjustment Layer Settings:
17 / 1.05 / 219
Step 12
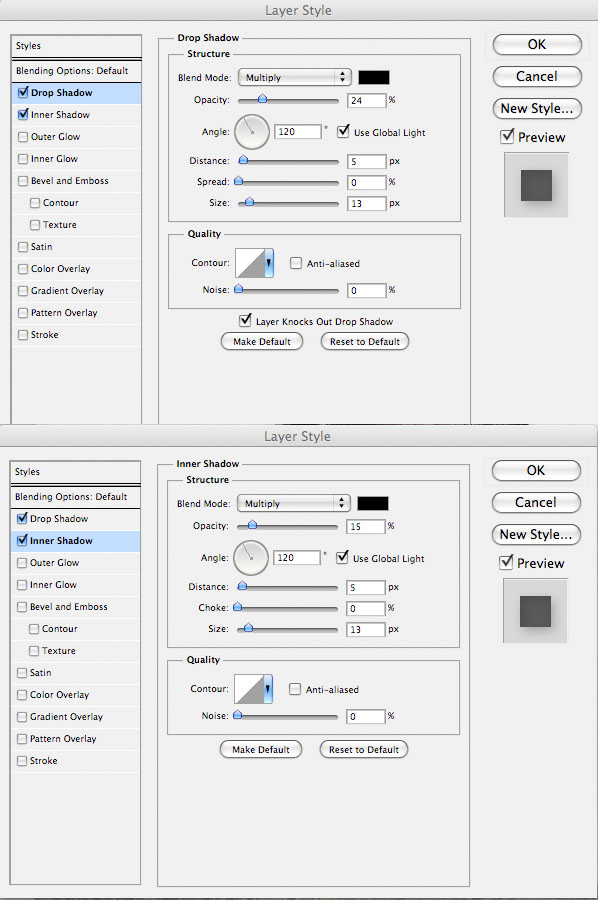
Now return to your original woman photo layer, and apply a drop shadow and inner shadow blending option:Drop Shadow Settings:
Blend Mode: Multiply
Color: 000000
Opacity: 24%
Angle: 120
Distance: 5px
Spread: 0%
Size: 13px
Inner Shadow Settings:
Blend Mode: Multiply
Color: 000000
Opacity: 15
Angle: 120
Distance: 5px
Choke: 0%
SIze: 13px

Step 13
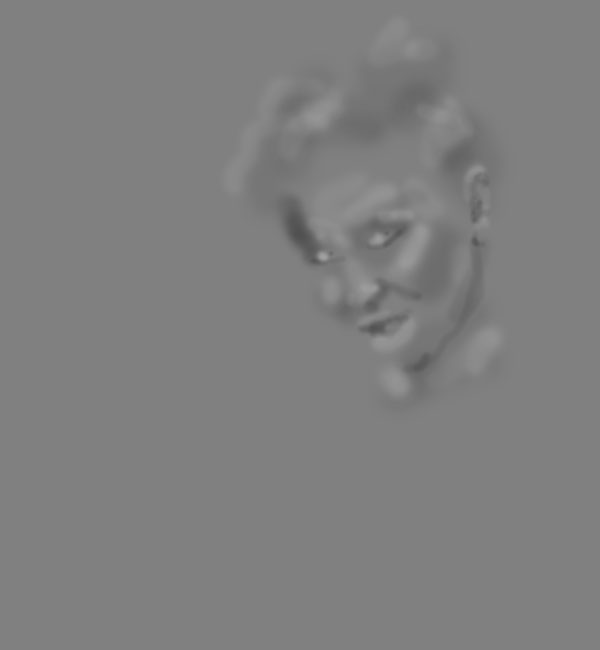
Now create a new top layer called ‘dodge/burn’.Go to edit>fill and fill your canvas with 50% gray. Then change this layer’s blend mode to ‘overlay’.
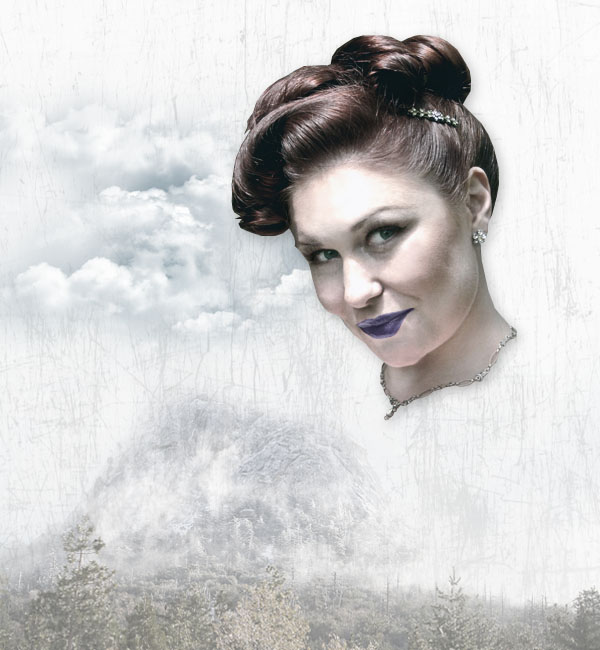
Use a soft black paintbrush (around 10% opacity) to paint in the shadows (or burn areas). Then use a 10% opacity white paintbrush for the highlights.
The images below show your dodge/burn layer at ‘normal’ blend mode and then at ‘overlay’ blend mode:
Step 14
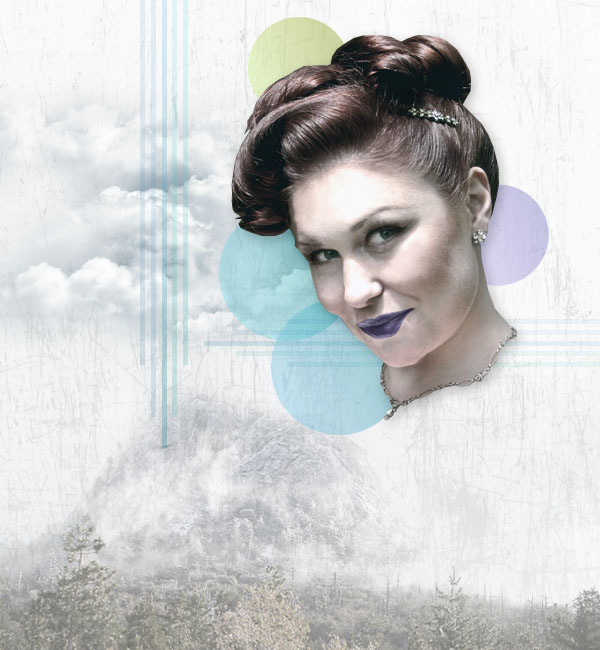
Now use your marquee tools to create a collection of low opacity circles/rectangles below your woman layers.Use a variety of colors, but make sure that they compliment your surrounding composition. Generally I made sure that each shape layer was around 30-40% opacity.
Step 15
Now paste in your vector ornate heart and vector swirls shapes. Ensure that these new shape layers are behind your woman layers, but above your background and colorful shapes layers.Reduce the opacity of each shape layer until you’re happy with the result. I reduced my ornate heart shape layer’s opacity to 60%, and my vector swirls layers to around 35% opacity.

Step 16
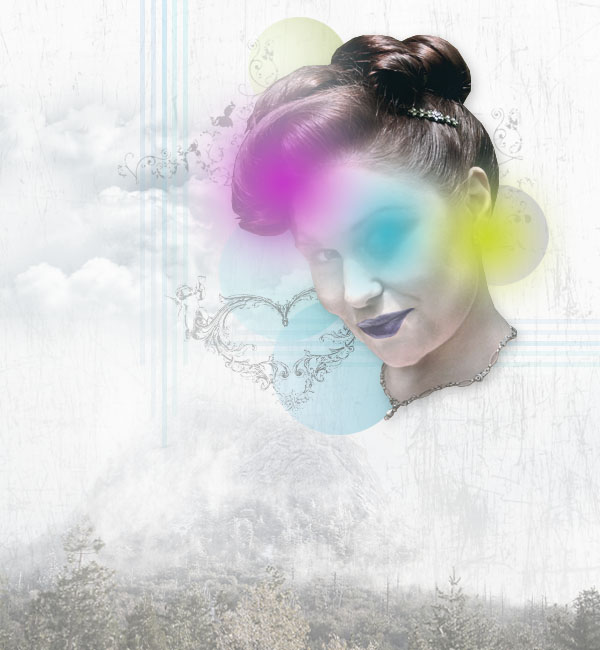
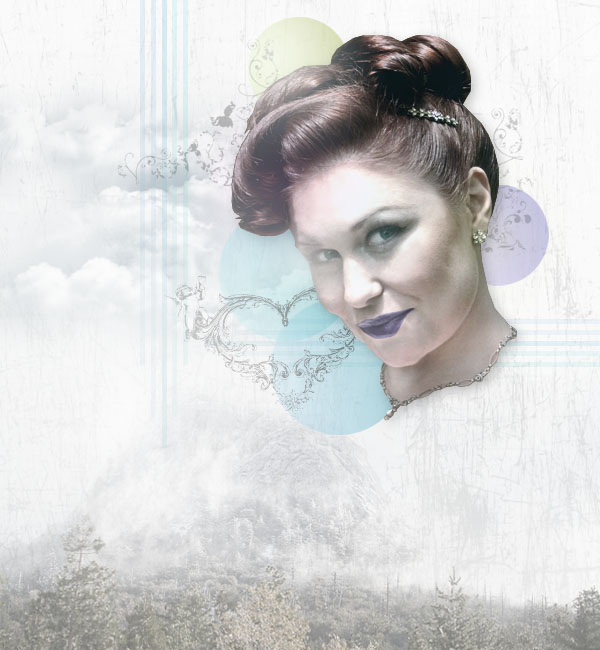
Now create a new layer just above your woman photo layers called ‘highlight spots’.Drag out a few white to transparent radial gradients. Then reduce this layer’s opacity to 70%. The images below show the highlight layer at 100% opacity, and then at 70% opacity.


Step 17
Now create a new layer called ‘color spots’. Drag out some more radial gradients, positioning them over your woman’s head. Each gradient should range from a bright, neon color to transparent.Then reduce this layer’s opacity to around 10%.
Step 18
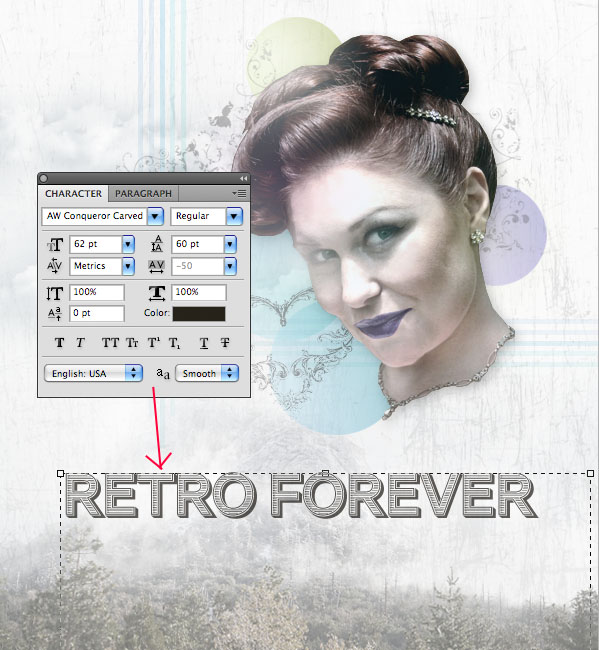
Now type out some text in the bottom-center of your canvas.Font Settings:
Font Face: AW Conqueror Carved
Size: 62pt
Kerning: -50
Color: 26221a
Step 19
Now create a new layer called ‘text highlights’. Create a series of white to transparent radial gradients over the top of your text. Then apply a clipping mask, and reduce this layer’s opacity to 60%.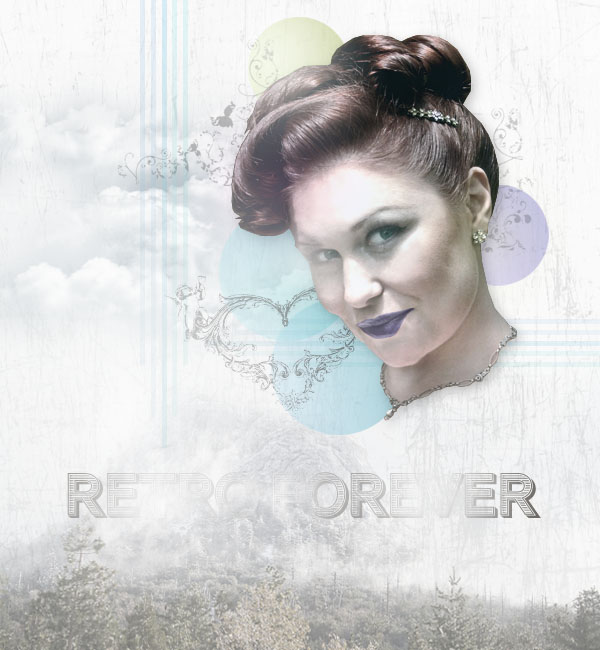

Step 20
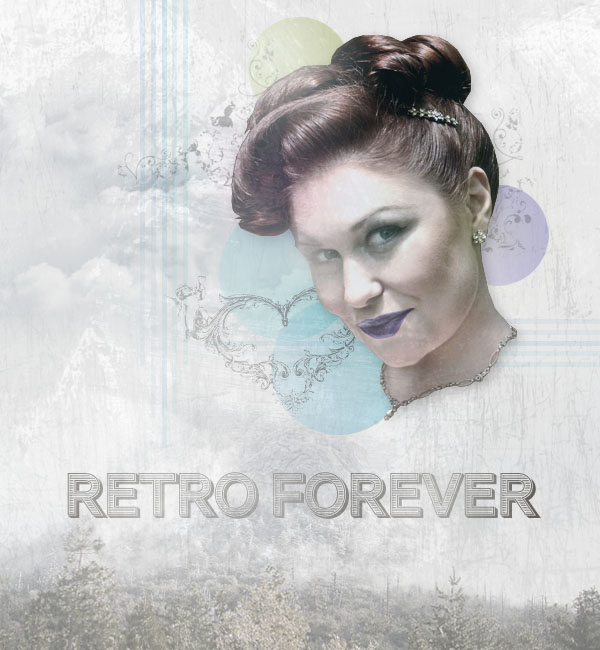
Download the FanExtra Broken & Beat Premium texture set. Paste in the 9th texture from the set, and go to image>adjustment>desaturate.Then reduce this layer’s opacity to 7%.

Step 21
Now paste in your Crumpled Paper Texture. Change this layer’s blend mode to ‘multiply’ and reduce it’s opacity to 25%.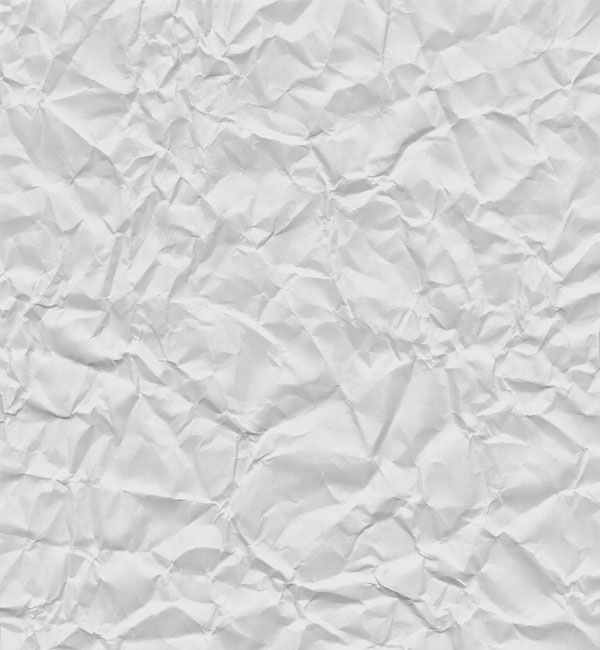
Step 22
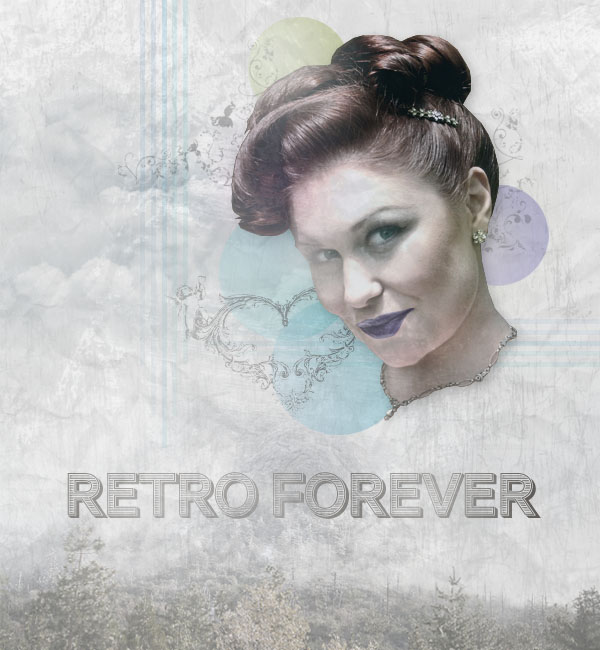
To finish, we want to apply some adjustment layers to really give a retro finish to our composition:Gradient Overlay Adjustment Layer Settings:
Gradient: Blue, Red, Yellow (this is a default gradient)
Layer Opacity: 4%
Levels Adjustment Layer Settings:
29 / 0.96 / 250
Photo Filter Adjustment Layer Settings:
Filter: Sepia
Density: 25%
Exposure Adjustment Layer Settings:
Exposure: +0.03
Offset: +0.03
Gamma Correction: 1.04


And We’re Done!
You can view the final outcome below. I hope that you enjoyed this tutorial and would love to hear your feedback on the techniques and outcome.


0 comments:
Post a Comment