This
is a detailed and step by step tutorial for creating an Vector based
cover page design in Photoshop. This tutorial demonstrates effective
usage of Photoshop's vector tools and techniques. PSD file included.
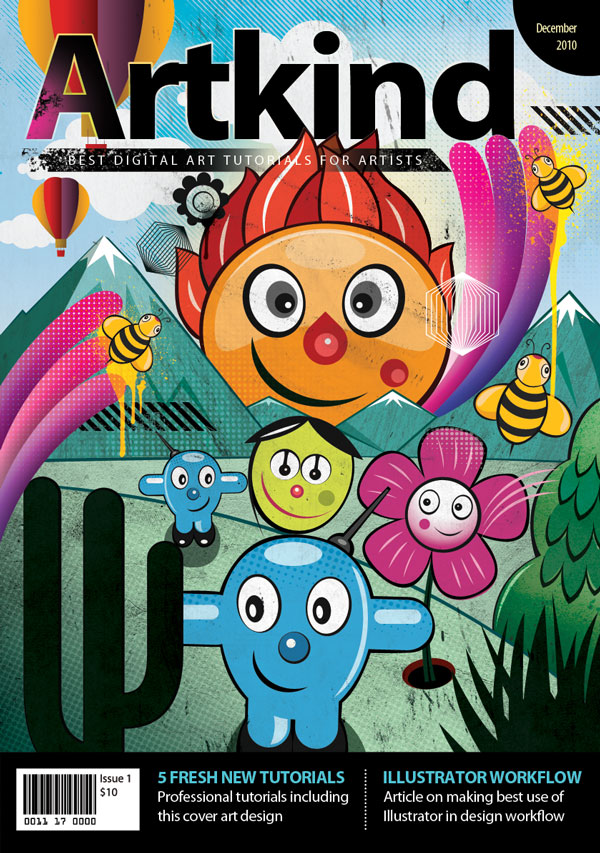
Create a Vector Style Magazine Cover Photoshop Tutorial
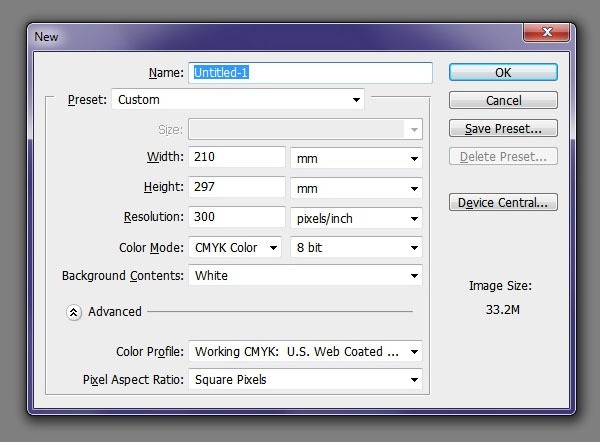 Set
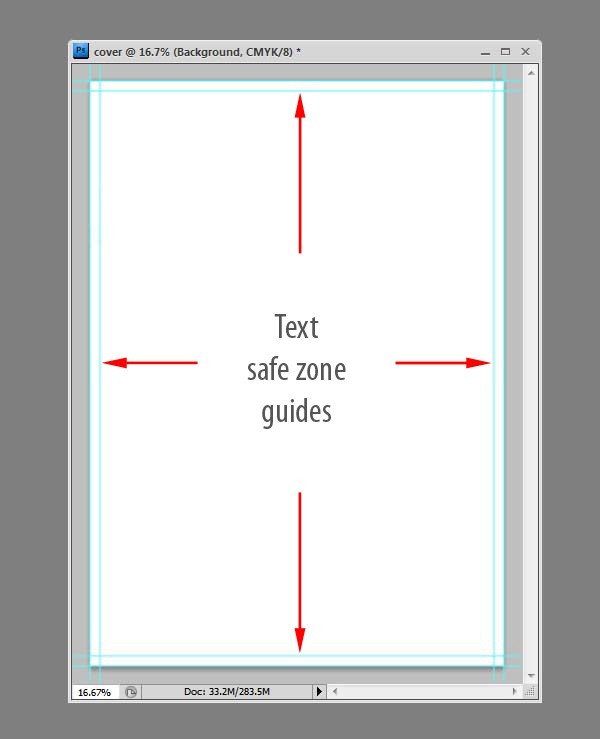
the measurement units to Millimeters by right clicking on the Ruler.
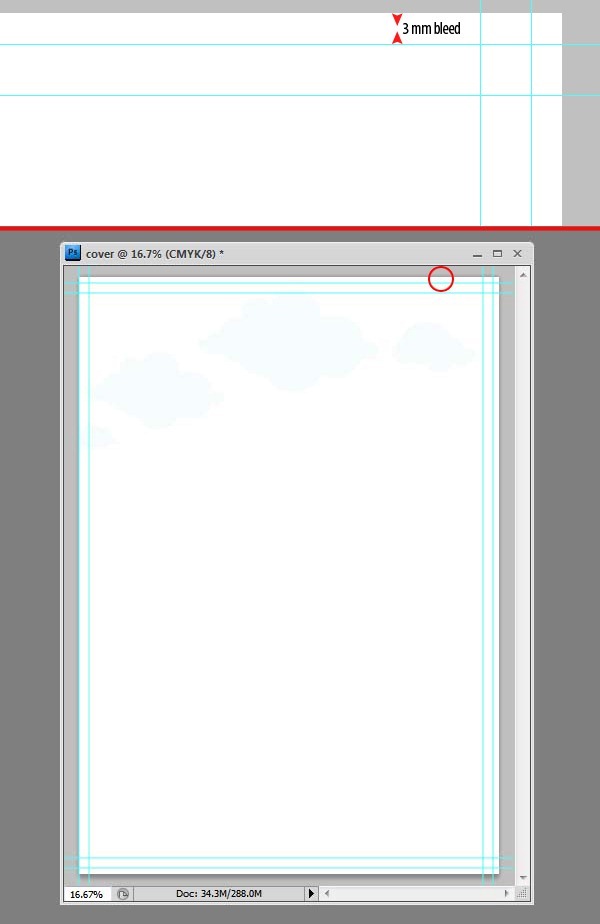
Add guides on the four sides of the document. And then add guides at 5mm
distance from the document’s border on four sides of the document.
These are text safe margins. We limit our text to this area.
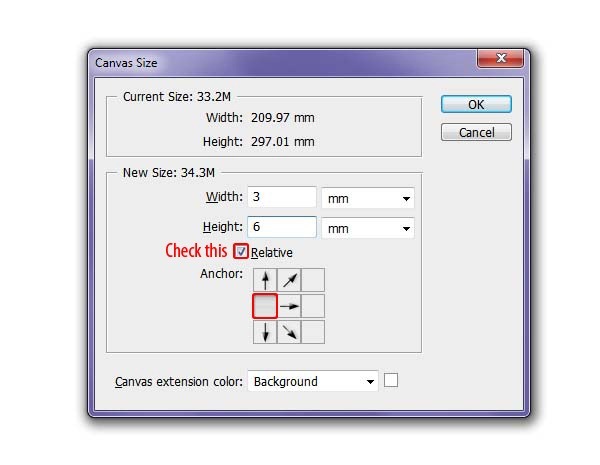
 Provide
a little room for errors when trimming. Set a 3mm bleed. This is very
simple, extend the canvas by 3mm except on the left side since the cover
page doesn’t get trimmed on the left side there is no need to set the
bleed. Press Control+Alt+C or go to Image > Canvas Size to load the
Canvas Size dialogue box and enter the values.
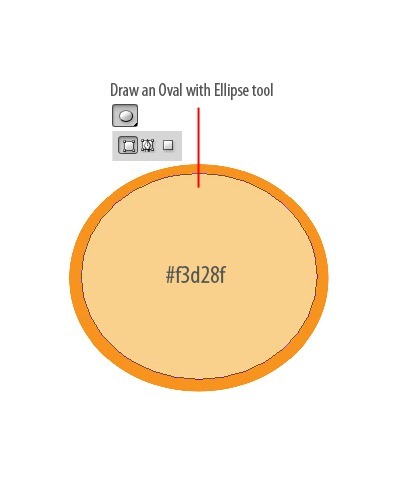
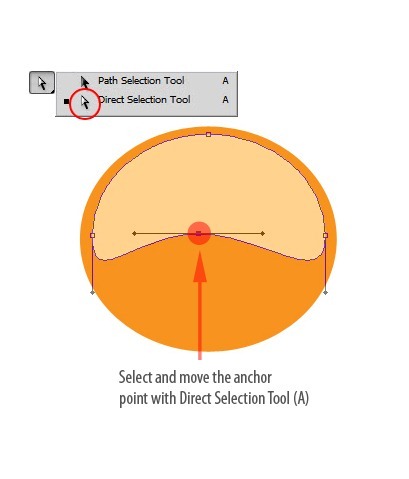
 Draw another oval on top of the previous layer with Ellipse Tool with color #f3d28f.
 Grab
the direct selection tool select the bottom anchor point of the oval
shape hold Shift key and move it upwards to the center. Set the layer
opacity to 60%
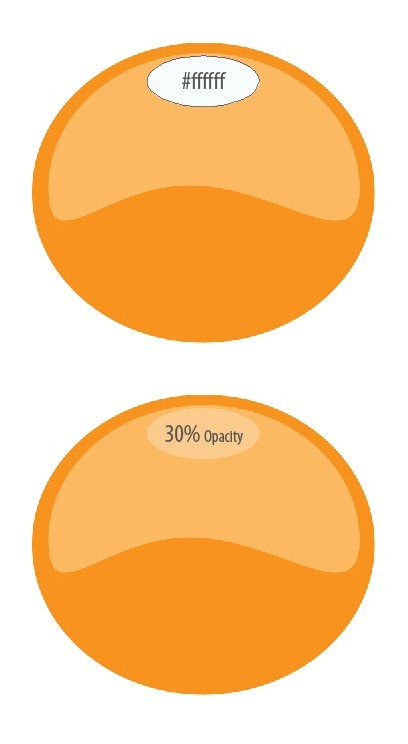
 With
the Ellipse Tool selected draw a smaller oval. Set the color to #ffffff
and reduce the opacity to 30%. You can set the shape layer color by
double clicking on the layer thumbnail.
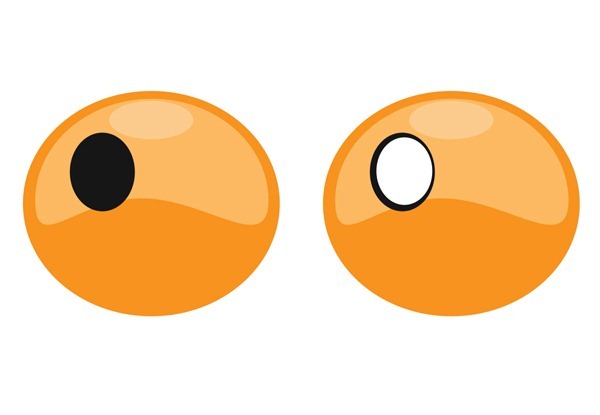
 Now
create eyes. Draw an oval like below with the Ellipse Tool. For color
set #000000. Draw another oval on top of it with color #ffffff.
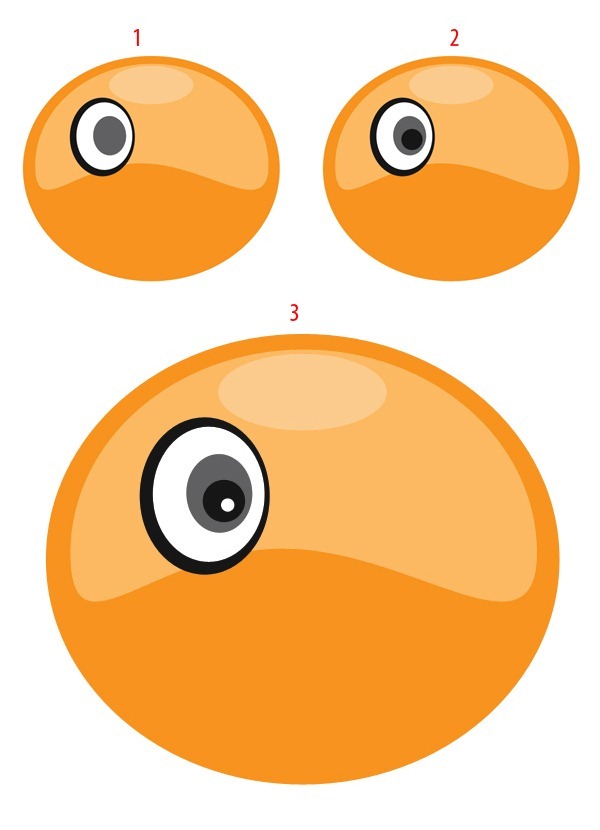
 Add more details like below with Ellipse Tool.
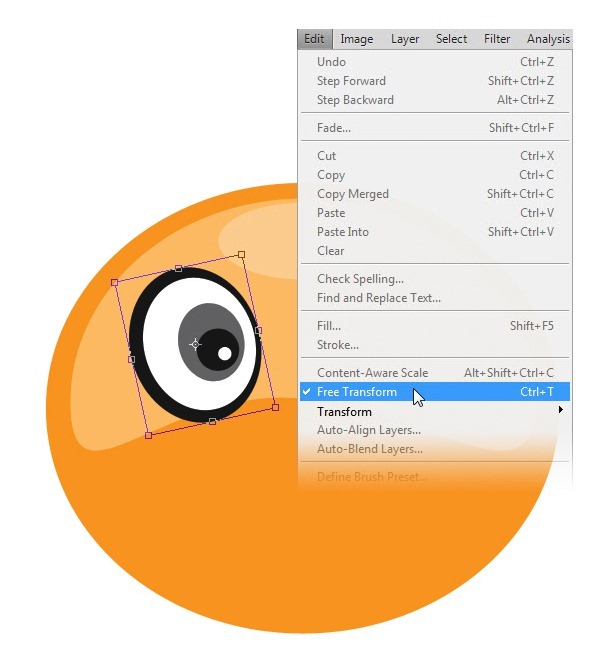
 Select
the eye layers by holding Ctrl and clicking on the layers and go to
Edit > Free Transform and rotate the eye about -20 degrees and press
enter to confirm the transformation. Use the Info palette to see how
much you are rotating.
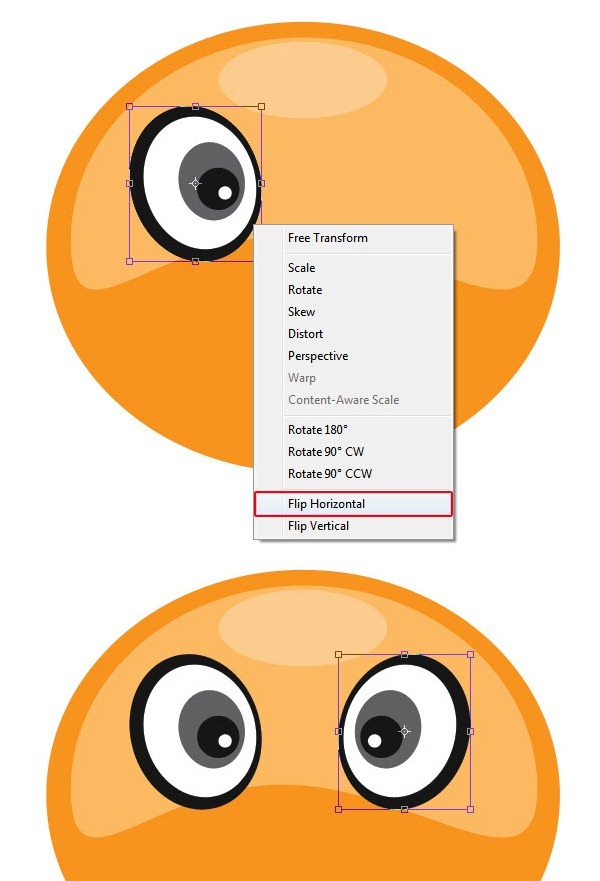
 Now
the eye is created on one side, we need to duplicate it and place it on
the other side. To do this select all the eye layers choose Layer >
Duplicate layers. This will duplicate the eye and now press Ctrl+T then
right click on the bounding box choose Flip Horizontal option from the
context menu.
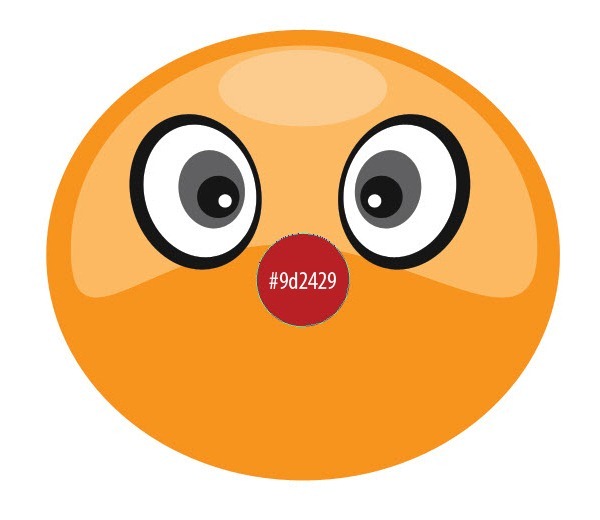
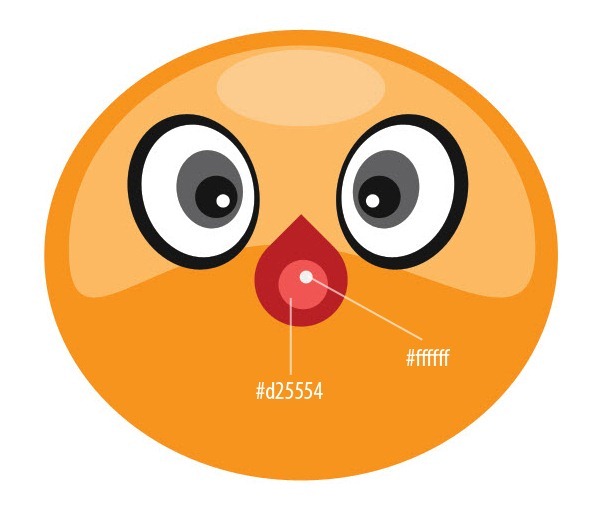
 We forward to the nose. Draw a circle with the Ellipse tool like below. Set color #9d2429.
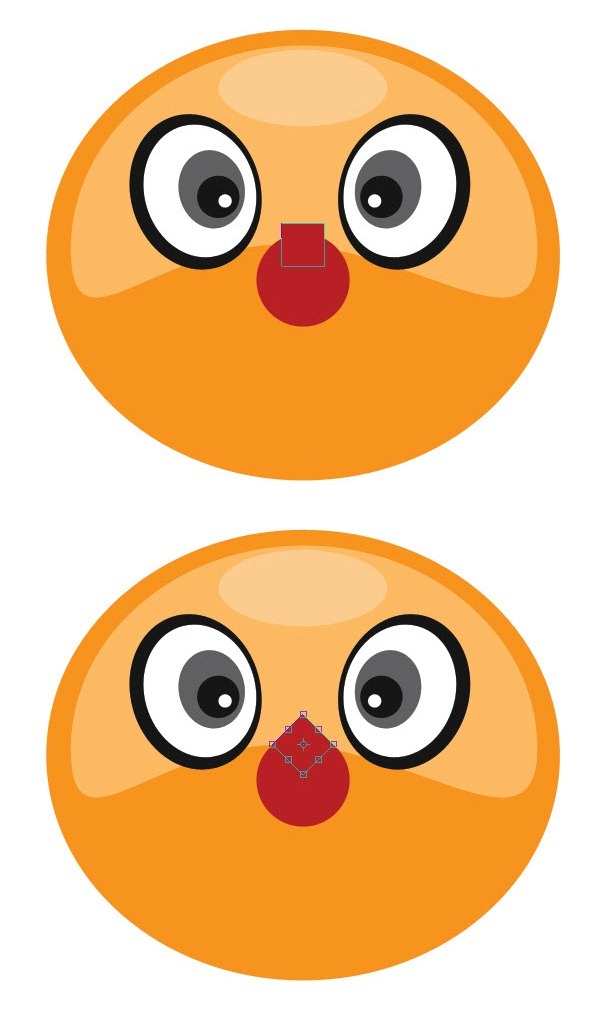
 Draw
a rectangle with the Rectangle Tool on the circle. Set the same color
as above. Press Ctrl+T and rotate it about 45 degrees to match the below
image. Press Enter key to confirm it.
 Add some highlights with Ellipse Tool.
 Now create the smile using a simple technique that I am going to show you. Draw a circle like below.
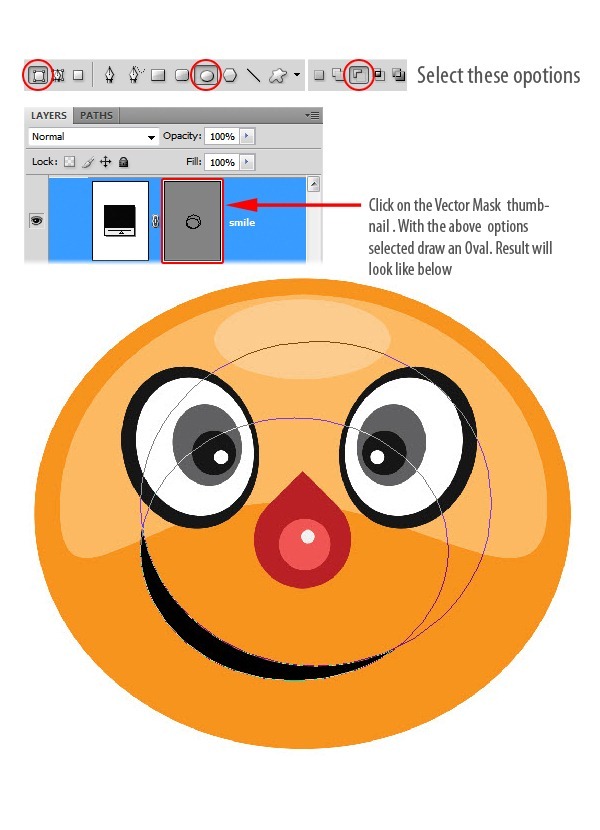
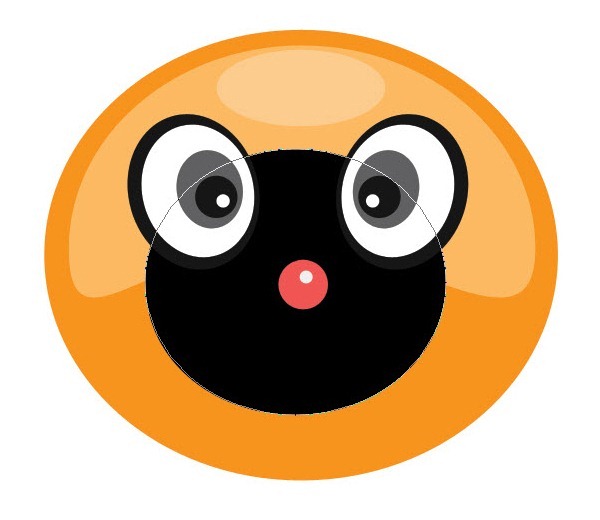 Now
click on the Vector mask thumbnail of the circle you just drew. Grab
the Ellipse Tool select Subtract from shape area option or Press the
"Alt" key and draw a circle like below. Note that you are actually
drawing inside the vector mask. See the result.
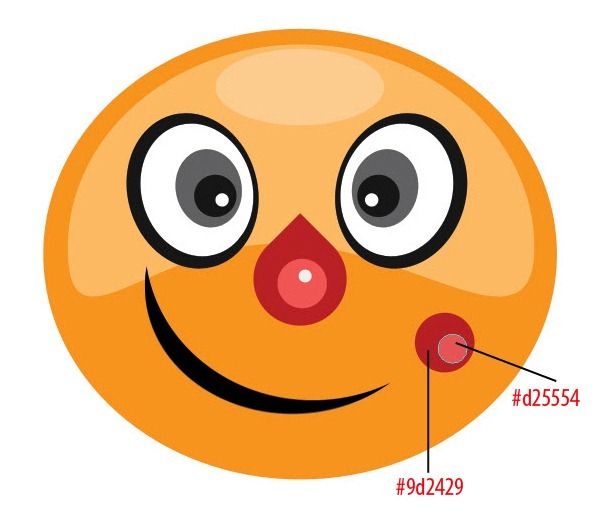
 Add a little blush to the sun.
 Draw flames using the Pen Tool. Create them below the sun's base layer.
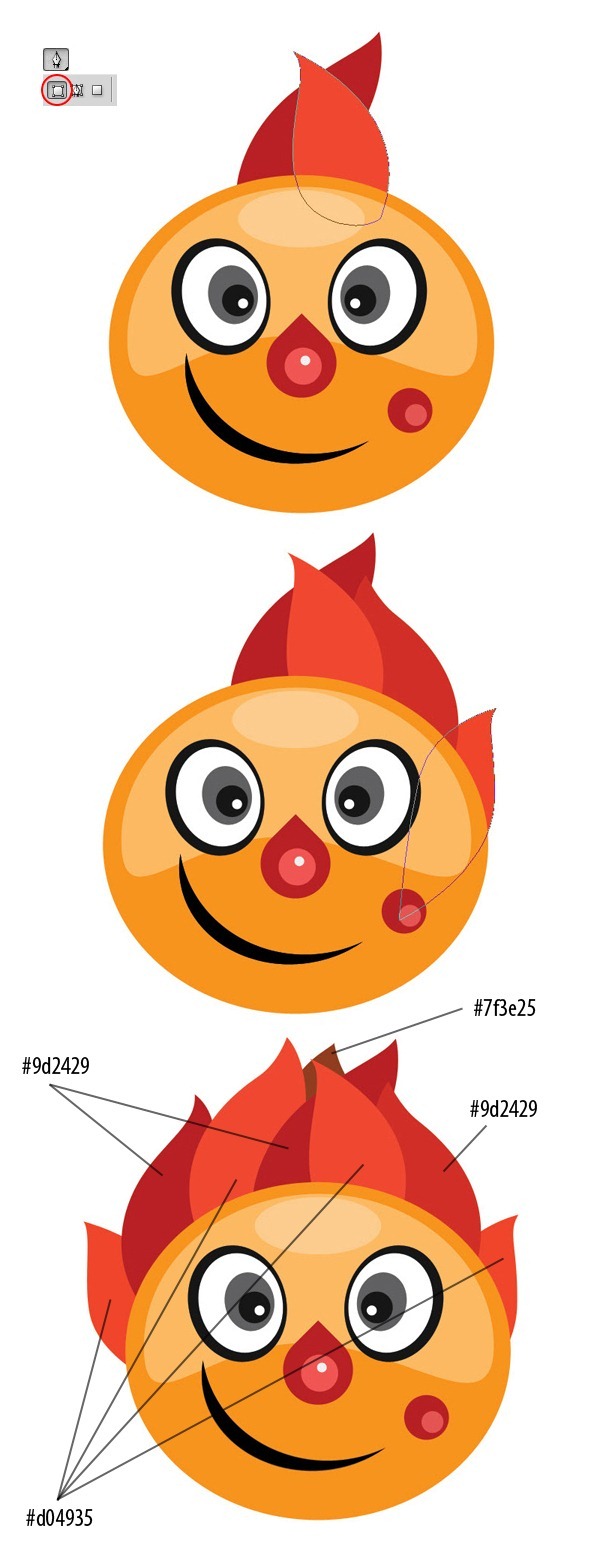 Our
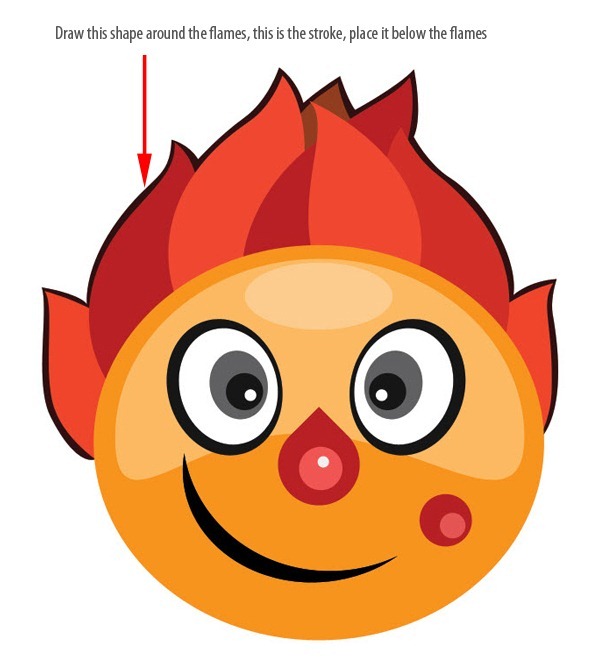
Sun character is finished. I wanted to give it an extra treatment. Add
strokes with the Pen tool. Pick a dark brown color or #2c1617. Draw a
shape around the sun below all other layers.
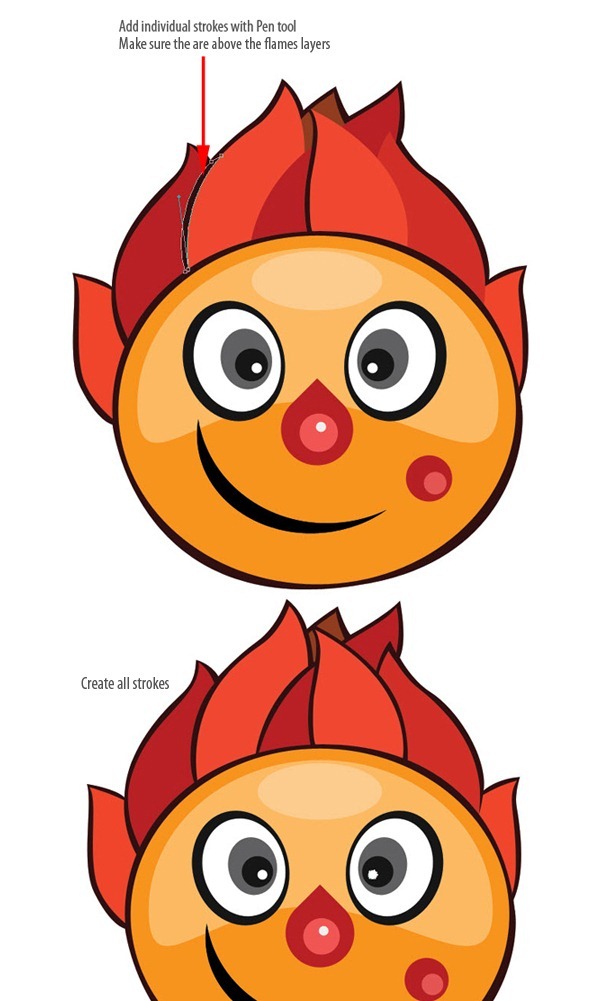
 Draw strokes to the flames on top of flames layers.
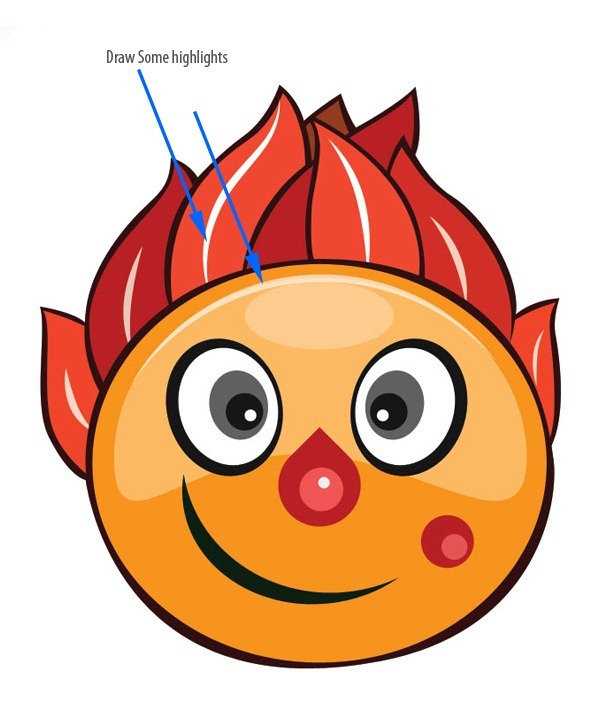
 Now draw some highlights with Pen Tool.
Preview of Final Results

Create a Vector Style Magazine Cover Photoshop Tutorial
Resources
- Halftone Pattern - Vecteezy
- Texture1 - Caleb Kimbrough
- Texture2 - Bashcorpo
- Texture3 - Caleb Kimbrough
- Texture4 - Princes of Shadows
- Texture5 - Zen Textures
- Paint Texture Pack - Media Militia
- Drippy Spray Brushes - Colorburned
- Grungy Film Brushes - Colorburned
Step 1 : Setting up the Document
Create a new document with the below settings. This is basically A4 (210 X 297) size document. There are many sizes when it comes to magazine layout. More often you will be given the magazine size and less often we decide on it. But for this project we will proceed with our own size which is also a standard magazine size.


Step 2 : Sketch
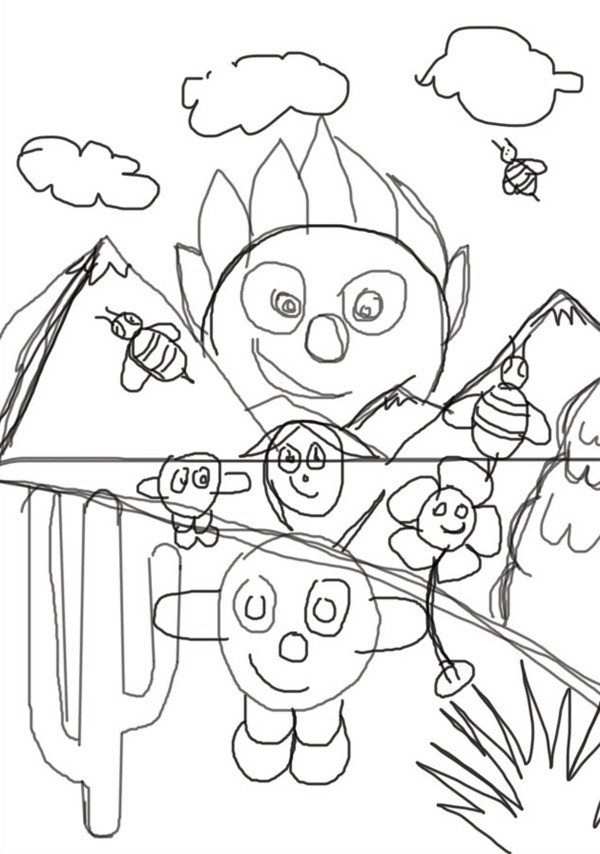
After a bit of brainstorm I’ve come up with this loose sketch done in Photoshop. This is the base of our illustration. It is a pretty simple and loose sketch not very detailed but will serve our purpose well. These are the elements that we will be creating during the course of this tutorial. Coming to colors I wanted it to be simple flat colored illustration. We will add details as we progress through the tutorial. We will create the characters first then create the remaining next.
Step 3 : Creating the Sun
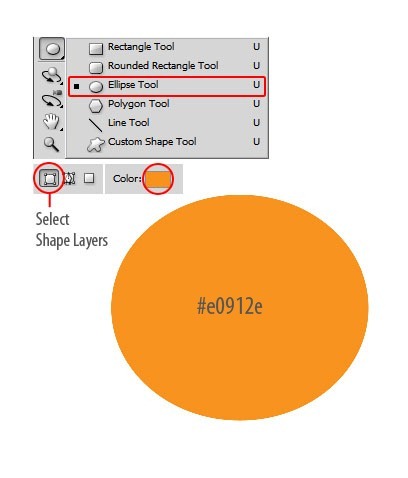
One thing I want you to follow through the rest of the tutorial is maintain objects in Groups. Before you create any major character or object create a new group and create layers in that group. This will save you from lot of mess. Now start by actually creating the Sun character. Create a new group. Go to Layer > New > Group or by clicking on the Create a new group icon on the bottom of the Layers palette. Rename it to "Sun" Grab the Ellipse tool, on the Options select Shape layers option, set the color to a nice orange or #e0912e and draw this oval shape. Make sure that the layer is created in the "Sun" group.


0 comments:
Post a Comment