If you want to learn how to create a greeting card and how to use
advanced techniques to combine several elements in Photoshop CS5 into
one complete composition, then we have an awesome tutorial for you.

Start working by creating a new document (Ctrl+N) in Adobe Photoshop with the size 1920px by 1200px (RGB color mode) at a resolution of 72 pixels/inch. Use the Paint Bucket Tool (G) to fill with #741706 color the new background layer.

Select now the Ellipse Tool (U) and draw the next ellipse of the color #B22B0B.
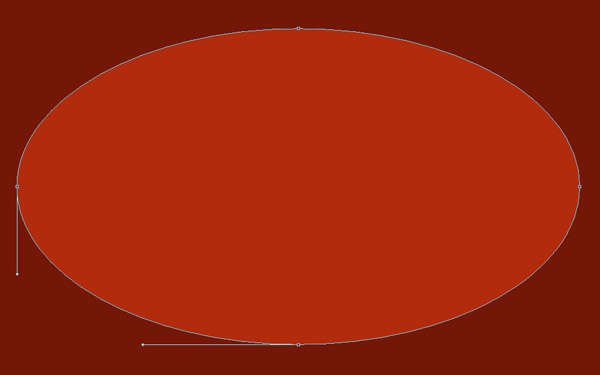
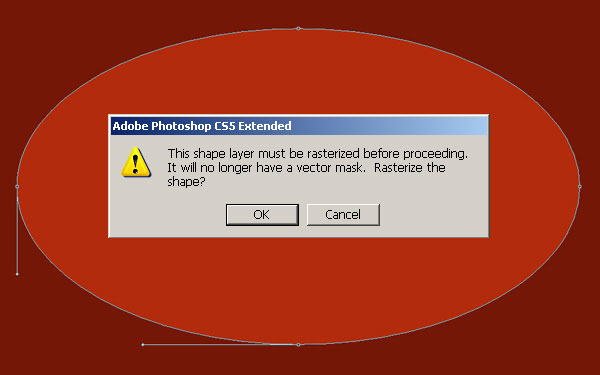
Choose for the ellipse’s layer the next filter: Filter>Blur>Gaussian blur, click OK to rasterize the shape.
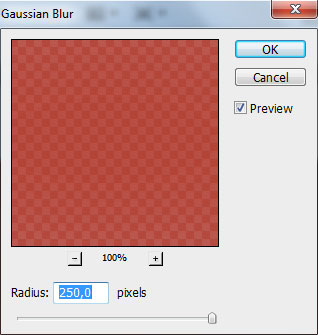
Gaussian blur settings:
We’ve got the next result:

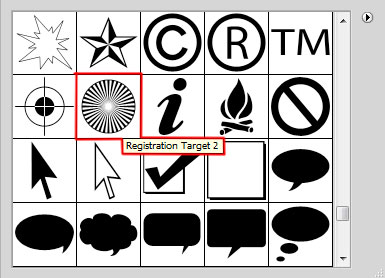
Now we should create several rays, select the Custom Shape Tool (U) in the Tools bar, in the Options bar click the Shape to open the selection menu. Find Registration Target 2 at the bottom of the menu, and then double-click a shape thumbnail to select it.
Click and drag to draw the shape as shown. The Foreground color is #AF2A0C.
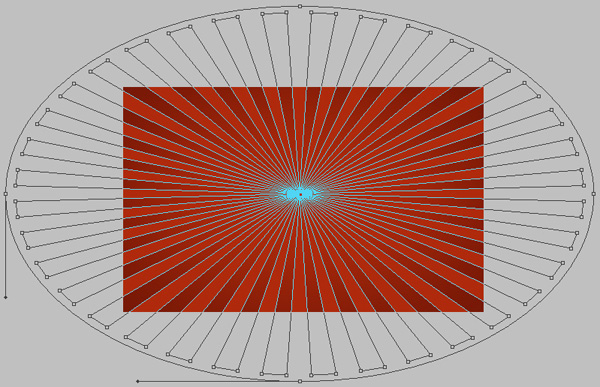
Set Fill to 60% for this layer and change the Blending mode for this layer to Luminosity.

Download from mega-tex the next Flower Textures and open it in Photoshop.
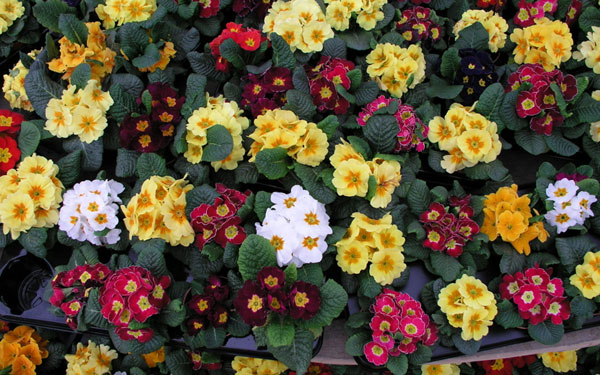
Desaturate image by selecting Image > Adjustments > Desaturate (CTRL+SHIFT+U).
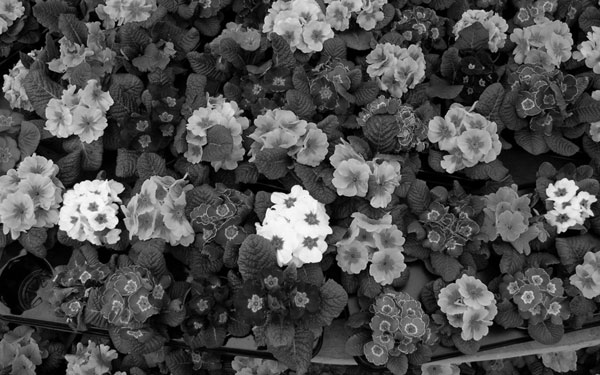
… and then apply for the layer the next filter: Filter>Filter Gallery>Sketch>Bes Relief.
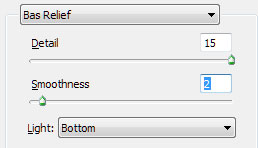
We’ve got the next result:
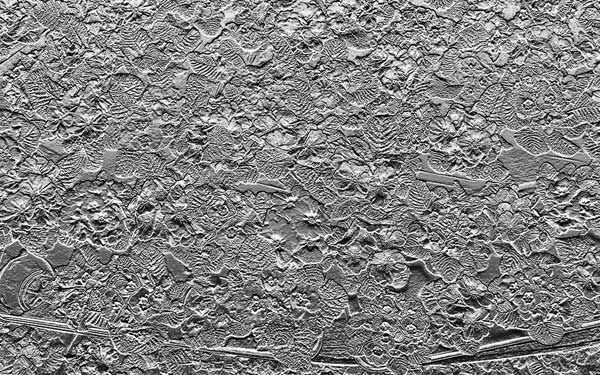
Next we’ll insert our texture on a new layer in our main document and change the Blending mode for this layer to Overlay.
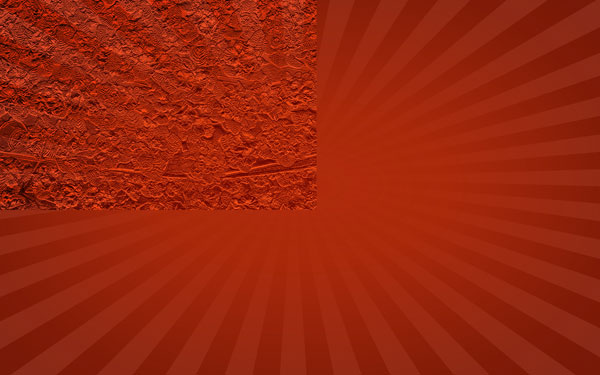
Make three copies of this layer and choose the Free Transform (Ctrl+T) command to place them as it is indicated below:

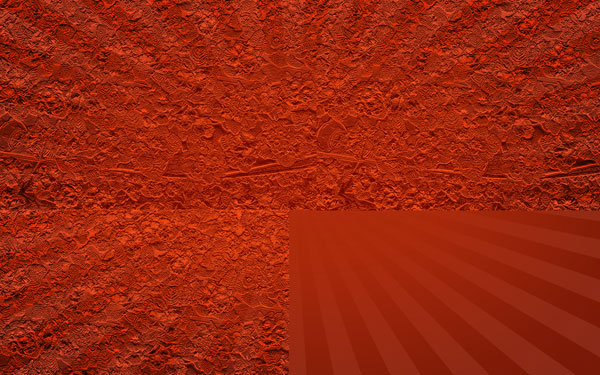
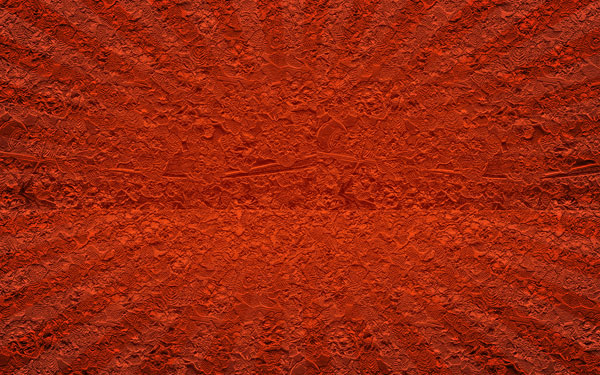
Select these four layers in Layers panel by holding CTRL button and Merge Down into a single layer by pressing CTRL+E. Set
Opacity to 23% for this layer.

Insert the mask on the layer by choosing Add layer mask on the bottom part of the Layers panel and choose the Soft Round brush of black color (set Opacity to 10% in Options bar).
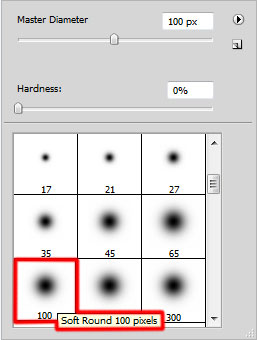
Paint in tha mask using this brush to hide the texture in its middle part of the layer.

Create a new layer and select the Soft Round brush of white color (set Opacity to 30% in Options bar).
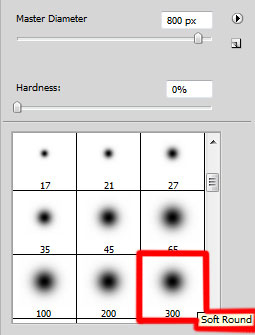
Use this brush to add some brushstrokes on the central part of the canvas as shown:

Set the Blending mode for this layer to Overlay.

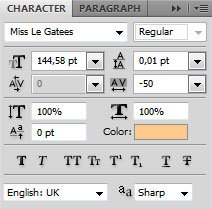
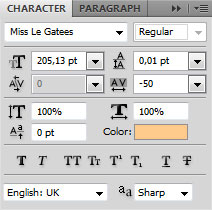
Click the Horizontal Type tool (T). Select a font, size and color in the Character panel (I have used Miss Le Gatees font or if you prefer, you can substitute similar font of your own). Click in the canvas and type Merry Christmas & Happy New Year 2011. Press Enter to apply the text.
Character panel for Merry text:
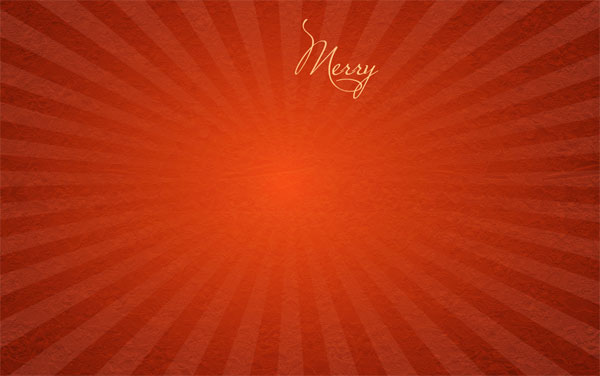
Character panel for Christmas text:


Character panel for & symbol:


Character panel for Happy text:
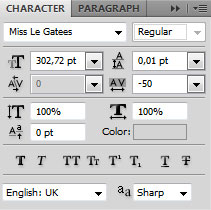

Character panel for New Year text:


Character panel for 2011 text:
We’ve got the next result:

Final Image Preview

Start working by creating a new document (Ctrl+N) in Adobe Photoshop with the size 1920px by 1200px (RGB color mode) at a resolution of 72 pixels/inch. Use the Paint Bucket Tool (G) to fill with #741706 color the new background layer.

Select now the Ellipse Tool (U) and draw the next ellipse of the color #B22B0B.

Choose for the ellipse’s layer the next filter: Filter>Blur>Gaussian blur, click OK to rasterize the shape.

Gaussian blur settings:

We’ve got the next result:

Now we should create several rays, select the Custom Shape Tool (U) in the Tools bar, in the Options bar click the Shape to open the selection menu. Find Registration Target 2 at the bottom of the menu, and then double-click a shape thumbnail to select it.

Click and drag to draw the shape as shown. The Foreground color is #AF2A0C.

Set Fill to 60% for this layer and change the Blending mode for this layer to Luminosity.

Download from mega-tex the next Flower Textures and open it in Photoshop.

Desaturate image by selecting Image > Adjustments > Desaturate (CTRL+SHIFT+U).

… and then apply for the layer the next filter: Filter>Filter Gallery>Sketch>Bes Relief.

We’ve got the next result:

Next we’ll insert our texture on a new layer in our main document and change the Blending mode for this layer to Overlay.

Make three copies of this layer and choose the Free Transform (Ctrl+T) command to place them as it is indicated below:


Select these four layers in Layers panel by holding CTRL button and Merge Down into a single layer by pressing CTRL+E. Set
Opacity to 23% for this layer.

Insert the mask on the layer by choosing Add layer mask on the bottom part of the Layers panel and choose the Soft Round brush of black color (set Opacity to 10% in Options bar).

Paint in tha mask using this brush to hide the texture in its middle part of the layer.

Create a new layer and select the Soft Round brush of white color (set Opacity to 30% in Options bar).

Use this brush to add some brushstrokes on the central part of the canvas as shown:

Set the Blending mode for this layer to Overlay.

Click the Horizontal Type tool (T). Select a font, size and color in the Character panel (I have used Miss Le Gatees font or if you prefer, you can substitute similar font of your own). Click in the canvas and type Merry Christmas & Happy New Year 2011. Press Enter to apply the text.
Character panel for Merry text:


Character panel for Christmas text:


Character panel for & symbol:


Character panel for Happy text:


Character panel for New Year text:


Character panel for 2011 text:

We’ve got the next result:


0 comments:
Post a Comment