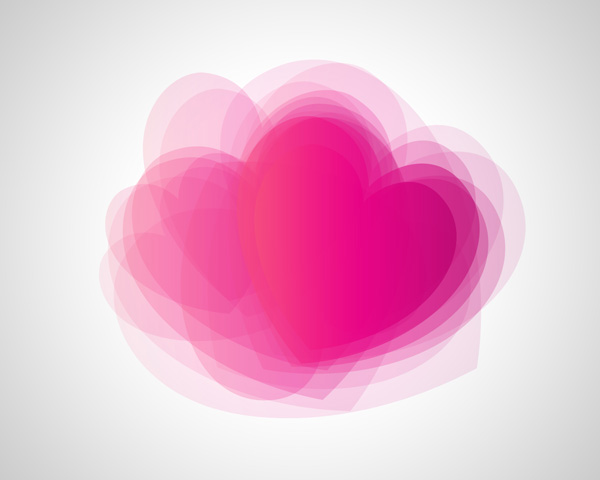
In this tutorial, I will show you how to create abstract eye catching
Valentine’s Day illustration with hearts from scratch using several
techniques in Adobe Photoshop CS5. Let’s get started!

Start working by creating a new document (Ctrl+N) in Adobe Photoshop CS5 with the size 1280px by 1024px (RGB color mode) at a resolution of 72 pixels/inch. Select the background layer in Layers panel and click on Add a layer style icon from bottom part of the Layers panel to select Gradient Overlay.

Click in the color bar to open the Gradient Editor and set the color stops as shown. Click OK to close the Gradient Editor dialog box.

We’ve got the next result:

Select the Custom Shape Tool (U)in the Tools bar, in the Options bar click the Shape to open the selection menu. Find Heart at the bottom of the menu, and then double-click a shape thumbnail to select it.

Click and drag to draw the heart shape. Then apply the Convert Point Tool to make the appropriate corrections on the heart’s shape.

Set Opacity to 10% for this layer and click on Add a layer style icon from bottom part of the Layers panel to select Gradient Overlay.

Click in the color bar to open the Gradient Editor and set the color stops as shown. Click OK to close the Gradient Editor dialog box.

We’ve got the next result:

Next we have to make some copies of the last made layer, increasing the Opacity value for each next copy and change the heart sizes with Free Transform (Ctrl+T) command.

Change the Opacity to 15% for the next copy:

Opacity is 10% for the next copy:

The next copy with Opacity to 10%.

Change the Opacity to 10% for the next copy:

This way we have to represent several copies as shown (Opacity – 10%).

The next copy has Opacity – 20%:

Also we have to represent several copies as shown with Opacity – 20%.

The next copy needs the Opacity – 30%:

One more heart with Opacity – 50%.

Next copy with Opacity – 70%.

Final Image Preview

Start working by creating a new document (Ctrl+N) in Adobe Photoshop CS5 with the size 1280px by 1024px (RGB color mode) at a resolution of 72 pixels/inch. Select the background layer in Layers panel and click on Add a layer style icon from bottom part of the Layers panel to select Gradient Overlay.

Click in the color bar to open the Gradient Editor and set the color stops as shown. Click OK to close the Gradient Editor dialog box.

We’ve got the next result:

Select the Custom Shape Tool (U)in the Tools bar, in the Options bar click the Shape to open the selection menu. Find Heart at the bottom of the menu, and then double-click a shape thumbnail to select it.

Click and drag to draw the heart shape. Then apply the Convert Point Tool to make the appropriate corrections on the heart’s shape.

Set Opacity to 10% for this layer and click on Add a layer style icon from bottom part of the Layers panel to select Gradient Overlay.

Click in the color bar to open the Gradient Editor and set the color stops as shown. Click OK to close the Gradient Editor dialog box.

We’ve got the next result:

Next we have to make some copies of the last made layer, increasing the Opacity value for each next copy and change the heart sizes with Free Transform (Ctrl+T) command.

Change the Opacity to 15% for the next copy:

Opacity is 10% for the next copy:

The next copy with Opacity to 10%.

Change the Opacity to 10% for the next copy:

This way we have to represent several copies as shown (Opacity – 10%).

The next copy has Opacity – 20%:

Also we have to represent several copies as shown with Opacity – 20%.

The next copy needs the Opacity – 30%:

One more heart with Opacity – 50%.

Next copy with Opacity – 70%.


0 comments:
Post a Comment